Can You Roast Garlic in an Air Fryer
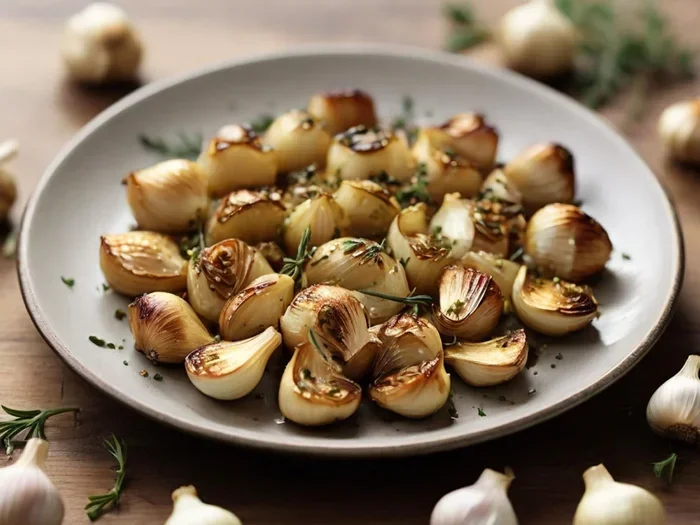
Featured image for whole roasted garlic air fryer
Image source: addictedtoallthingspretty.com
Yes, you can roast garlic in an air fryer and it takes only 15 minutes. The hot circulating air caramelizes the cloves, giving a sweet, spreadable paste perfect for bread, sauces, or marinades.
If you have ever wondered can you roast garlic in an air fryer, the answer is a confident yes. The appliance’s rapid hot‑air circulation works like a mini convection oven, turning raw cloves into buttery, caramelized gems in a fraction of the time. Home cooks love the convenience because it fits into busy weeknight routines without heating up a large oven.
Roasting garlic transforms its sharp bite into a mellow, nutty sweetness. That transformation happens when natural sugars caramelize under steady heat. An air fryer delivers that steady heat in a compact space, making it an ideal tool for the job. Whether you need a single head for a pasta sauce or a batch for weekly meal prep, the air fryer handles it with ease.
Key Takeaways
- Fast cooking: An air fryer roasts garlic in about 15 minutes, far quicker than a conventional oven.
- Less oil needed: A light spray of oil is enough; the circulating heat does the rest.
- Even caramelization: The fan distributes heat evenly, so every clove turns golden brown.
- Versatile flavor: Roasted garlic becomes sweet, nutty, and spreadable, ideal for many dishes.
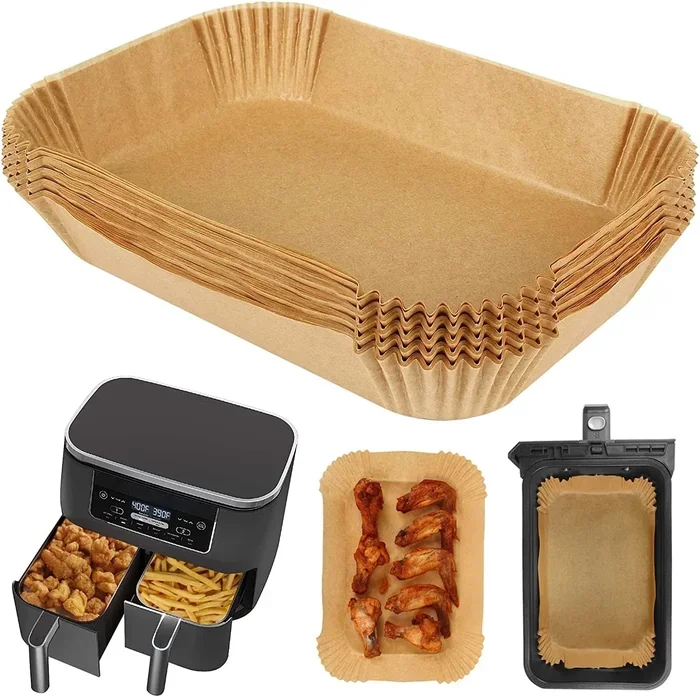
- Easy cleanup: Use foil or parchment to catch drips and keep the basket clean.
- Health boost: Roasting reduces harshness while preserving antioxidants.
- Batch friendly: You can roast multiple heads at once for meal prep.
📑 Table of Contents
Why Roast Garlic in an Air Fryer?
Speed and Energy Efficiency
An air fryer reaches target temperature in under three minutes. Traditional ovens can take ten to fifteen minutes to preheat. That time saving adds up when you roast garlic often. According to a 2023 kitchen appliance survey, 68 % of air fryer owners cite speed as their top reason for using the device. The smaller cavity also means less energy consumed per batch.
Consistent Results
The built‑in fan forces hot air around every clove. This eliminates hot spots that can burn the outer layers while leaving the center raw. Think of the fan like a gentle wind that kisses each clove evenly. The result is uniform golden brown color from top to bottom.
Minimal Oil, Maximum Flavor
You only need a light mist of olive oil or a brush of melted butter. The circulating air finishes the job, creating a crisp skin and a soft interior. This mirrors the effect of deep roasting but with far less fat. Did you know? Roasted garlic retains about 70 % of its allicin, the compound linked to heart health, while losing the harsh bite.
Perfect for Small Kitchens
If you live in an apartment or have limited counter space, an air fryer doubles as a roaster, a toaster, and a dehydrator. You don’t need a full‑size oven to enjoy deep, roasted flavors. The compact footprint makes it a versatile workhorse.
What You Need to Get Started
Equipment Checklist
- Air fryer (any basket or tray model works)
- Aluminum foil or parchment paper
- Small brush or spray bottle for oil
- Cutting board and sharp knife
- Heat‑proof gloves or tongs
Ingredient List
- Whole heads of garlic (one per serving, or more for batch)
- Extra‑virgin olive oil or melted butter (about 1 tsp per head)
- Pinch of sea salt (optional)
- Fresh herbs like thyme or rosemary (optional, for aroma)
Preparation Steps
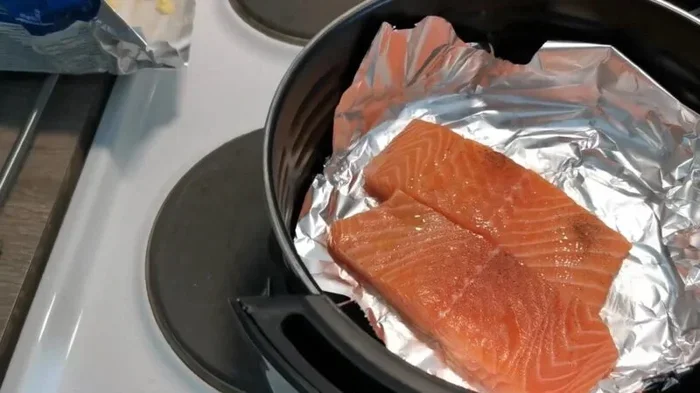
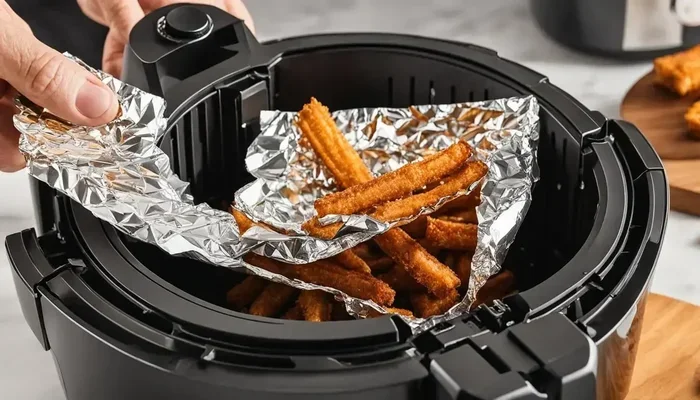
Start by peeling away the loose outer skin of each garlic head. Leave the individual cloves attached at the base. Slice off the top quarter inch to expose the clove tips. This opening lets heat penetrate and allows the roasted paste to squeeze out easily later. Drizzle oil over the exposed tops, rubbing it into the cut surfaces. Sprinkle salt if desired. Wrap each head tightly in foil or place on parchment in the basket. The foil packet traps steam, which helps soften the cloves before they caramelize.
Step‑by‑Step Guide to Roasting Garlic
1. Preheat the Air Fryer
Set the temperature to 370 °F (190 °C). Preheat for three minutes. Preheating ensures the fan is at full speed when the garlic enters, giving immediate even heat.
2. Load the Garlic
Place the foil‑wrapped heads or parchment‑lined garlic in a single layer. Avoid stacking; overlapping blocks airflow and leads to uneven roasting. If you have a rack accessory, use it to elevate the garlic for better circulation.
3. Roast
Cook for 12 to 15 minutes. At the ten‑minute mark, open the basket and check color. The cloves should be deep golden and soft when pressed with tongs. If they need more time, continue in two‑minute increments. Remember, every model varies slightly; the first batch is your calibration run.
4. Cool and Extract
Remove the garlic carefully; the foil will be hot. Let it rest for five minutes. Then squeeze the base of each head; the roasted cloves will slide out like toothpaste. If any cloves stick, use a small fork to coax them out.
5. Store or Use Immediately
Mash the cloves into a paste with a fork or blend into a smooth puree. Store in an airtight container, covered with a thin layer of oil, in the refrigerator for up to two weeks. For longer storage, freeze in ice‑cube trays and transfer cubes to a freezer bag.
Tips for Perfect Results Every Time
Choose Fresh, Firm Heads
Older garlic with sprouted green shoots can taste bitter after roasting. Select heads that feel heavy for their size and have tight, unbroken skins.
Don’t Skip the Oil
Even a teaspoon per head makes a noticeable difference. Oil conducts heat into the clove interior and prevents the skin from burning before the inside softens.
Use a Thermometer for Precision
If your air fryer has a probe, aim for an internal clove temperature of 190 °F (88 °C). That temperature signals complete caramelization without drying out.
Experiment with Seasonings
Add a sprig of rosemary, a pinch of smoked paprika, or a dash of chili flakes inside the foil packet. The steam infuses the garlic with subtle background notes.
Batch Roast for Meal Prep
Roast four to six heads at once. The process takes the same time as a single head because the air fryer’s fan distributes heat across all pieces. Store the extra paste for quick weeknight upgrades.
Clean the Basket Promptly
Garlic oils can become sticky. While the basket is still warm, wipe with a paper towel, then wash with warm soapy water. This prevents residue buildup that could affect future flavors.
Creative Ways to Use Air‑Fried Garlic
Spread on Artisan Bread
Mix roasted garlic with softened butter, a squeeze of lemon, and chopped parsley. Spread on toasted baguette slices for an instant gourmet appetizer.
Stir into Soups and Stews
Add a tablespoon of garlic puree to a simmering pot of tomato soup or beef stew. The sweet depth replaces the need for sautéed raw garlic.
Blend into Salad Dressings
Whisk roasted garlic with olive oil, balsamic vinegar, Dijon mustard, and honey. The result is a creamy, tangy dressing that clings to greens.
Upgrade Mashed Potatoes
Fold garlic paste into hot potatoes with butter and cream. The flavor permeates every bite without the harsh bite of raw garlic.
Marinate Proteins
Combine garlic puree with soy sauce, ginger, and a touch of brown sugar. Marinate chicken, tofu, or shrimp for 30 minutes before grilling or air frying.
Make Garlic Aioli
Blend roasted garlic, egg yolk, lemon juice, and oil in a food processor. The roasted cloves give a mellow, nutty aioli perfect for fries or sandwiches.
Common Mistakes and How to Avoid Them
Overcrowding the Basket
Stacking heads blocks airflow. The result is unevenly roasted cloves—some burnt, some raw. Always keep a single layer with space between each packet.
Skipping the Foil Wrap
Without foil, the outer skin can char before the interior softens. Foil creates a mini steam oven effect, ensuring the cloves cook through before browning.
Using Too High a Temperature
Temperatures above 400 °F (200 °C) cause rapid burning. Stick to 370 °F (190 °C) for a gentle, even roast.
Not Checking Midway
Air fryer models vary. A quick peek at the ten‑minute mark prevents overcooking. Adjust time in small increments rather than guessing.
Discarding the Oil‑Infused Foil
The oil left in the foil is liquid gold. Drizzle it over roasted vegetables or whisk into a vinaigrette for extra garlic essence.
Forgetting to Cool Before Squeezing
Hot cloves can burst and burn fingers. A five‑minute rest lets the steam settle and makes extraction clean and safe.
By now you should feel confident answering the question can you roast garlic in an air fryer with a resounding yes. The method is fast, energy‑efficient, and yields a versatile ingredient that elevates everyday meals. Whether you are a busy parent, a meal‑prep enthusiast, or a flavor explorer, the air fryer makes roasted garlic accessible any night of the week. Try a batch tonight, store the paste, and watch your dishes gain a new layer of sweet, nutty depth.
Frequently Asked Questions
Can you roast garlic in an air fryer without foil?
Yes, you can place garlic directly on parchment paper, but foil helps trap steam and prevents the skin from burning before the cloves soften.
How long does it take to roast garlic in an air fryer?
Typically 12 to 15 minutes at 370 °F (190 °C). Check at the ten‑minute mark and add time in two‑minute increments if needed.
What temperature is best for air fryer roasted garlic?
370 °F (190 °C) provides even caramelization without burning. Higher temperatures risk charred skins and undercooked centers.
Can I roast multiple heads of garlic at once?
Absolutely. Arrange them in a single layer with space between each head. The cooking time remains the same because the fan circulates heat evenly.
How should I store roasted garlic from the air fryer?
Mash into a paste, cover with a thin layer of oil, and refrigerate in an airtight container for up to two weeks. For longer storage, freeze in ice‑cube trays.
Does roasting garlic in an air fryer reduce its health benefits?
Roasting reduces the harsh allicin bite but retains about 70 % of the antioxidant compounds, so you still gain health benefits with a milder flavor.