

Featured image for can cook chicken breast in air fryer
Image source: hungryhobby.net
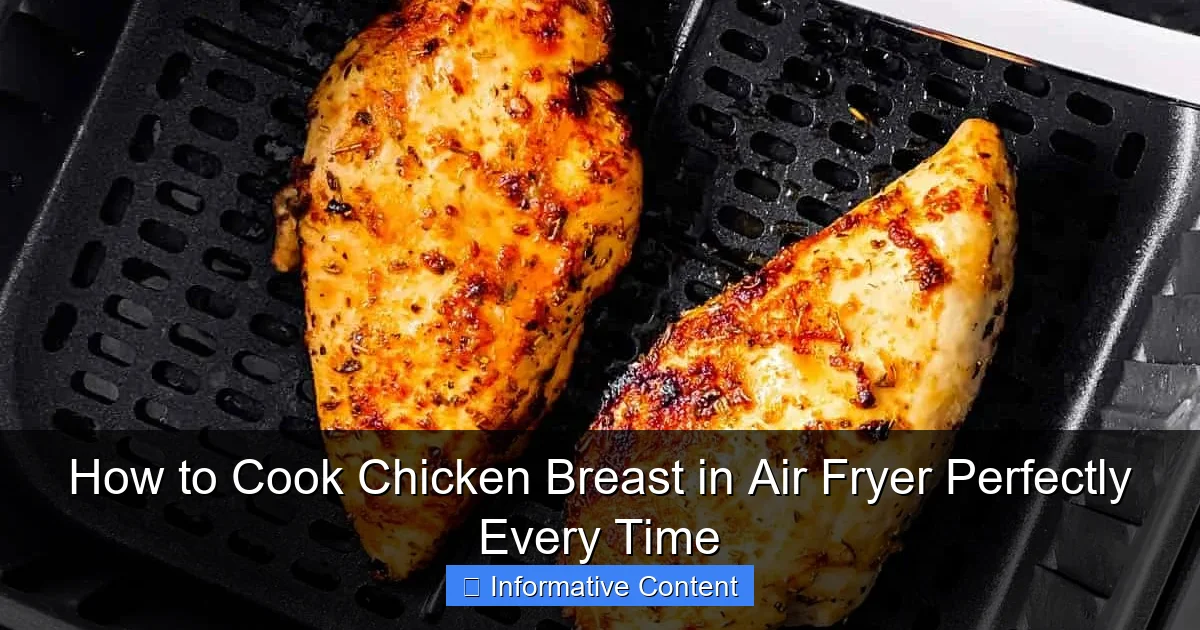
Yes, you can cook chicken breast in an air fryer—and it’s the easiest way to achieve juicy, tender results every time. With minimal prep and no oil, the air fryer delivers perfectly cooked chicken in under 20 minutes, locking in flavor and moisture. Say goodbye to dry, overcooked chicken—this method guarantees consistent, restaurant-quality results at home.
Key Takeaways
- Prep properly: Pat chicken dry for crispy, even cooking.
- Season generously: Use oil and spices for flavorful results.
- Don’t overcrowd: Leave space for optimal air circulation.
- Flip halfway: Ensure even browning and juiciness.
- Use a thermometer: Cook to 165°F for perfect doneness.
- Rest before slicing: Locks in juices for tender meat.
📑 Table of Contents
- Why Air Frying Chicken Breast Is a Game-Changer
- Understanding How Air Fryers Work (And Why They’re Ideal for Chicken)
- Choosing the Right Chicken Breast for Your Air Fryer
- Step-by-Step Guide to Cooking Perfect Air Fryer Chicken Breast
- Seasoning and Flavor Variations (Beyond Salt and Pepper)
- Troubleshooting Common Air Fryer Chicken Breast Problems
- Conclusion: Your Air Fryer Chicken Breast Journey Starts Now
Why Air Frying Chicken Breast Is a Game-Changer
Let’s be honest: cooking chicken breast can feel like walking a culinary tightrope. Too long in the pan, and you’re left with dry, rubbery disappointment. Too short, and you’re risking a food safety nightmare. But what if there was a way to get juicy, flavorful, perfectly cooked chicken breast every single time—without the guesswork? That’s where the air fryer comes in.
When I first got my air fryer, I was skeptical. I’d heard all the hype about crispy fries and “fried” chicken without oil, but I wasn’t sure it could handle something as finicky as chicken breast. Then I tried it. One batch, and I was hooked. No more hovering over the stove. No more flipping halfway through. Just set, forget, and enjoy. The air fryer circulates hot air at high speed, creating a crisp exterior while sealing in the juices—making it one of the most reliable ways to cook chicken breast with minimal effort.
Understanding How Air Fryers Work (And Why They’re Ideal for Chicken)
The Science Behind Air Frying
Air fryers use rapid air circulation to mimic deep frying. A heating element warms the air, and a high-powered fan pushes it around the food at lightning speed. This creates a Maillard reaction—that golden-brown crust we all crave—while keeping the inside moist. Unlike ovens, which heat slowly and unevenly, air fryers deliver consistent, intense heat from all angles. That’s why chicken breast cooks faster and more evenly.
Visual guide about can cook chicken breast in air fryer
Image source: savorynothings.com
Think of it like a turbocharged convection oven. The basket design allows hot air to reach all sides of the chicken, reducing hot spots. This means no more flipping every few minutes or dealing with one side being overcooked while the other is still raw.
Why Chicken Breast Works So Well in Air Fryers
- Even thickness: Chicken breast is naturally thin and uniform, which helps it cook evenly.
- Low fat content: Without excess fat, it won’t drip and smoke like other meats, making cleanup easier.
- Quick cooking time: Most air fryers cook chicken breast in 12–15 minutes—half the time of an oven.
- No oil needed: You can get a crisp exterior with just a light spray or even dry brine.
One time, I forgot to spray my chicken and just used a dry rub. I expected it to be bland, but the air fryer’s heat still gave it a nice sear. That’s the magic: the machine does most of the work for you.
Choosing the Right Chicken Breast for Your Air Fryer
Fresh vs. Frozen: What’s Best?
Fresh chicken breast is ideal because it cooks more evenly and retains moisture better. But frozen works too—just adjust the time. I once cooked frozen chicken breasts straight from the freezer. I added 3–4 minutes to the cooking time and used a meat thermometer to check doneness. They came out just as juicy as fresh ones. The key? Don’t overcrowd the basket. If the pieces are touching, they’ll steam instead of crisp.
Size and Thickness Matter
Here’s a pro tip: butterfly thick breasts. If your chicken is over 1 inch thick, slice it horizontally into two thinner cutlets. This ensures even cooking and prevents the outside from burning before the inside is done. I learned this the hard way—my first attempt with a 1.5-inch breast resulted in a charcoal exterior and undercooked center. Now, I always check the thickness.
For best results, aim for 1-inch-thick breasts. If they’re uneven, use a meat mallet to gently pound the thicker parts. This isn’t just for air frying; it’s a great habit for any cooking method.
Bone-In vs. Boneless
Boneless, skinless chicken breast is the gold standard for air frying. It cooks fast, absorbs marinades well, and fits easily in the basket. Bone-in breasts take longer (add 5–7 minutes) and may need to be cut into smaller pieces to fit. Skin-on breasts can work, but the skin won’t get as crispy as in a deep fryer—though it still adds flavor.
Step-by-Step Guide to Cooking Perfect Air Fryer Chicken Breast
Prepping Your Chicken (The Foundation of Success)
Start with dry chicken. Pat it with paper towels to remove excess moisture—this helps the seasoning stick and improves browning. Season generously with salt, pepper, garlic powder, and any spices you like. I love paprika for color and a hint of smokiness.
For extra juiciness, try a dry brine: sprinkle salt on the chicken and let it sit uncovered in the fridge for 1–2 hours. This draws out moisture, which then reabsorbs, seasoning the meat deeply. Or, marinate for 30 minutes to overnight. A simple mix of olive oil, lemon juice, and herbs works wonders.
Air Fryer Settings: Temperature and Time
Set your air fryer to 375°F (190°C). This is the sweet spot—high enough to crisp, but not so high that it dries out the chicken. For 1-inch-thick boneless breasts, cook for 12–15 minutes, flipping halfway. If your air fryer doesn’t have a flip reminder, set a timer.
Here’s a quick reference table for different sizes:
| Chicken Breast Thickness | Cooking Time (375°F) | Notes |
|---|---|---|
| 0.5 inch | 8–10 minutes | No flip needed if very thin |
| 1 inch | 12–15 minutes | Flip halfway |
| 1.5 inches (butterflied) | 14–18 minutes | Pound to even thickness |
| Frozen (1 inch) | 15–18 minutes | Check internal temp |
The Flip: Why It’s Crucial (And When You Can Skip It)
Flipping halfway ensures even browning. But if your chicken is very thin (under 0.5 inch), you might skip it. Just cook 1–2 minutes less per side. I once skipped the flip on thin cutlets—they were still great, but one side was slightly paler. For best results, flip.
Checking for Doneness (The Thermometer Rule)
Never guess! Use a meat thermometer. Chicken is safe at 165°F (74°C), but for juicier meat, pull it at 160°F—it’ll carry over to 165°F while resting. Insert the thermometer into the thickest part, avoiding bone. If you don’t have a thermometer, cut into the center: the juices should run clear, not pink.
Seasoning and Flavor Variations (Beyond Salt and Pepper)
Dry Rubs: Simple and Speedy
Dry rubs are my go-to. They’re easy, mess-free, and pack a punch. Try these combos:
- Classic BBQ: 1 tbsp paprika, 1 tsp garlic powder, 1 tsp onion powder, 1 tsp brown sugar, 1/2 tsp black pepper.
- Lemon Herb: 1 tbsp lemon zest, 1 tsp dried oregano, 1 tsp dried thyme, 1/2 tsp salt.
- Spicy Cajun: 1 tbsp chili powder, 1 tsp cumin, 1 tsp garlic powder, 1/2 tsp cayenne (adjust to taste).
Rub the mix on both sides, then air fry. No oil needed—the spices stick better to dry chicken.
Marinades: For Maximum Juiciness
Marinating adds flavor and tenderizes. Use acidic ingredients (lemon juice, vinegar, yogurt) and oil. A 30-minute marinade works, but 2–4 hours is better. My favorite: 1/4 cup olive oil, 2 tbsp soy sauce, 1 tbsp honey, 2 cloves minced garlic, 1 tsp ginger. Drain excess liquid before air frying to prevent steaming.
Glazes and Sauces: Crispy Outside, Saucy Inside
Want sticky, saucy chicken? Cook the breast first, then add sauce in the last 2 minutes. This keeps the exterior crisp. Try:
- Honey Mustard: 2 tbsp honey, 1 tbsp Dijon mustard, 1 tsp lemon juice.
- Teriyaki: 2 tbsp soy sauce, 1 tbsp honey, 1 tsp sesame oil, 1/2 tsp garlic powder.
- Buffalo: 1/4 cup hot sauce, 1 tbsp melted butter.
Brush the glaze on, then air fry 1–2 minutes to set. Warning: too much sauce can make the chicken soggy, so use sparingly.
Troubleshooting Common Air Fryer Chicken Breast Problems
Chicken Is Dry or Rubbery
Overcooking is the culprit. Remember: pull at 160°F, not 165°F. Resting for 5 minutes after cooking lets the juices redistribute. Also, avoid high heat—stick to 375°F. If you’re still getting dry chicken, try brining or marinating.
Chicken Is Undercooked Inside
This happens with thick or uneven pieces. Always butterfly or pound to 1-inch thickness. If it’s undercooked, return it to the air fryer in 1–2 minute increments. Don’t guess—use a thermometer.
Exterior Is Burnt, Interior Is Raw
Your chicken is too thick. Butterfly it next time. Or, lower the temperature to 350°F and increase the time by 2–3 minutes. This gives the center time to cook without burning the outside.
Chicken Is Soggy or Not Crispy
Moisture is the enemy of crispiness. Pat the chicken dry before seasoning. Don’t overcrowd the basket—leave space for air to circulate. If you’re using a sauce, apply it at the end, not the beginning.
Air Fryer Smells or Smokes
This is normal with high-fat foods, but chicken breast shouldn’t cause much smoke. If it does, check for marinade drips or excess oil. Clean the basket and tray after each use. For stubborn odors, run the air fryer empty at 400°F for 5 minutes with a lemon slice inside.
Conclusion: Your Air Fryer Chicken Breast Journey Starts Now
Cooking chicken breast in an air fryer isn’t just convenient—it’s transformative. No more dry, flavorless meals. No more guesswork. Just juicy, perfectly cooked chicken with minimal effort. Whether you’re a busy parent, a meal prep pro, or just someone who hates hovering over the stove, the air fryer is your new best friend.
Remember: start with dry, evenly thick chicken. Season boldly. Cook at 375°F, flipping halfway. Check the temperature. Rest before slicing. And don’t be afraid to experiment. Try new rubs, marinades, and glazes. The air fryer is forgiving, and every batch teaches you something new.
Next time you’re staring at a pack of chicken breasts, don’t groan. Smile. Grab your air fryer, and in 15 minutes, you’ll have a meal that’s crispy, juicy, and utterly delicious. Happy cooking!
Frequently Asked Questions
How do you cook chicken breast in an air fryer without drying it out?
To keep chicken breast juicy, cook it at 375°F (190°C) for 12–18 minutes, flipping halfway. Use a meat thermometer to confirm the internal temperature reaches 165°F (74°C) for perfectly moist results.
How long to cook chicken breast in air fryer for tender results?
Boneless, skinless chicken breasts typically take 12–18 minutes at 375°F (190°C), depending on thickness. Thicker cuts may need an extra 2–3 minutes—always check with a thermometer.
Can you cook frozen chicken breast in an air fryer?
Yes! Cook frozen chicken breast in the air fryer at 360°F (182°C) for 20–25 minutes, flipping halfway. No need to thaw—just add 5–7 minutes to the usual time.
What’s the best way to season air fryer chicken breast?
For flavor, coat chicken with olive oil, salt, pepper, garlic powder, and paprika. Marinate for 30+ minutes for deeper taste, or use a dry rub before air frying for a crispy exterior.
Do you need to preheat the air fryer for chicken breast?
Preheating (3–5 minutes) ensures even cooking and a better sear, but it’s optional. If skipping, add 1–2 minutes to the cook time and avoid overcrowding the basket.
How do you prevent chicken breast from sticking in the air fryer?
Lightly spray or brush the air fryer basket with oil, and avoid moving the chicken during the first 6–8 minutes. Use a non-stick-safe spatula to flip gently.