
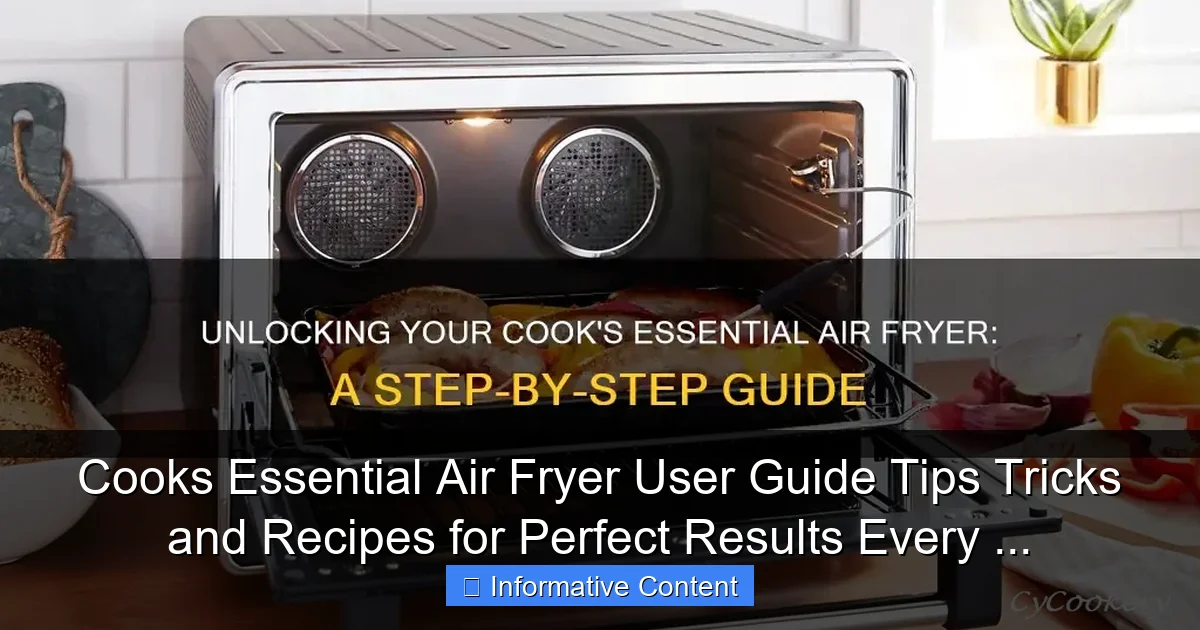
Featured image for cooks essential air fryer user guide
Image source: cycookery.com
Maximize your Cooks Essential Air Fryer with expert tips, foolproof tricks, and delicious recipes designed for perfect results every time. From crispy fries to juicy meats, this guide unlocks the full potential of your air fryer with easy-to-follow instructions and pro techniques. Say goodbye to guesswork and hello to consistently golden, healthier meals with minimal effort.
Key Takeaways
- Preheat your air fryer for consistent, crispy results every time.
- Use minimal oil to achieve guilt-free, golden-brown textures effortlessly.
- Shake or flip food halfway for even cooking and perfect browning.
- Follow recipe timings closely to avoid overcooking delicate items.
- Clean the basket promptly after use to maintain performance and longevity.
- Experiment with accessories like racks or skewers to expand cooking options.
📑 Table of Contents
- Welcome to the World of Crispy, Healthy Cooking with Your Cooks Essential Air Fryer
- Getting Started: Setting Up Your Cooks Essential Air Fryer
- Mastering Cooking Techniques for Perfect Results
- Essential Accessories and Upgrades
- Common Mistakes and How to Fix Them
- 5 Easy Cooks Essential Air Fryer Recipes for Every Meal
- Data Table: Cooking Times and Temperatures for Common Foods
- Final Thoughts: Your Air Fryer, Your Way
Welcome to the World of Crispy, Healthy Cooking with Your Cooks Essential Air Fryer
If you’ve ever craved golden, crispy french fries without guilt—or wanted to cook a juicy chicken breast that doesn’t dry out—your Cooks Essential Air Fryer is about to become your kitchen MVP. I remember the first time I unboxed mine. I was skeptical. Could a little countertop appliance really replace my oven, toaster, and deep fryer? Spoiler: yes, and then some. But like any tool, it takes a bit of know-how to get the best results. That’s where this guide comes in.
Whether you’re a total beginner or have been air frying for months, this Cooks Essential Air Fryer user guide is designed to help you unlock its full potential. We’ll walk through setup, best practices, common mistakes, and even share some of my favorite go-to recipes. No fluff, no hype—just real tips from someone who’s burned a few batches (and learned from them). From crispy wings to roasted veggies and even desserts, you’ll discover how to get perfect results every single time.
Getting Started: Setting Up Your Cooks Essential Air Fryer
Unboxing and First Impressions
When you first open the box, you’ll find the air fryer base, a removable non-stick cooking basket, a crisper tray, and a user manual. The design is sleek and compact—perfect for small kitchens. The control panel is simple: a digital display, temperature knob (up to 400°F), timer (up to 60 minutes), and a power button. No complicated settings or app connectivity, which is great if you just want to “set it and forget it.”
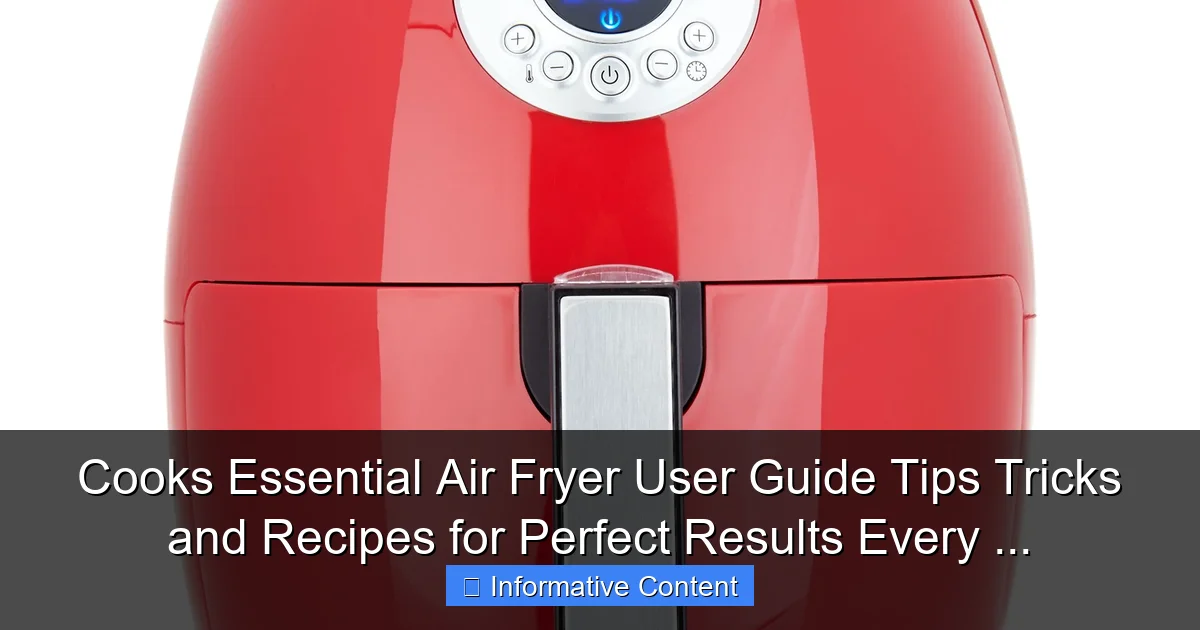
Visual guide about cooks essential air fryer user guide
Image source: images.qvc.com
Pro tip: Before your first use, wash the basket, crisper tray, and interior with warm, soapy water. Dry thoroughly. This removes any factory residue and ensures no off-flavors sneak into your food.
Where to Place Your Air Fryer
Location matters. Place your Cooks Essential Air Fryer on a heat-resistant, level surface with at least 5 inches of clearance on all sides. Why? The appliance vents hot air from the back and sides. Crowding it can cause overheating or uneven cooking.
- Never place it under cabinets or near curtains.
- Keep it away from water sources (sink, dishwasher) to avoid steam damage.
- If your countertop is sensitive to heat, use a silicone mat or trivet underneath.
<
One mistake I made early on: using it on a wooden cutting board. The heat warped the surface slightly. Lesson learned—always use a heat-safe base.
Preheating: A Simple Step That Makes a Big Difference
Yes, your air fryer needs to preheat—just like an oven. It takes about 3–5 minutes to reach the desired temperature. Skipping this step? You’ll end up with soggy food or uneven browning.
Here’s how to do it right:
- Set the temperature you plan to cook at (e.g., 375°F).
- Press the timer to 5 minutes, but don’t add food yet.
- Let it run empty. The fan will circulate hot air, creating that perfect crisping environment.
- Once the timer ends, open the basket, add your food, and reset the timer for your recipe.
For example, if you’re making chicken tenders at 375°F, preheat to 375°F for 5 minutes, then load them in and cook for 12–15 minutes. The result? Crispy on the outside, tender on the inside—no flipping required.
Mastering Cooking Techniques for Perfect Results
Oil Use: Less Is More
One of the biggest perks of air frying is using up to 80% less oil than deep frying. But that doesn’t mean you should skip oil entirely. A light spray or drizzle helps food crisp up and prevents sticking.
Here’s my go-to method:
- For frozen foods (like fries or nuggets): spray with one light coat of oil. Too much makes them greasy.
- For fresh meats or veggies: toss with 1 tsp of oil per cup of food. Olive oil, avocado oil, or canola oil all work well.
- Use a high-heat spray bottle or pastry brush to control the amount.
Bonus tip: Avoid using aerosol cooking sprays (like Pam) directly on the non-stick basket. The propellants can degrade the coating over time. Instead, use oil in a reusable spray bottle.
Shake It Up: The Secret to Even Crisping
Air fryers work by circulating hot air, but food on the bottom gets more direct heat. That’s why shaking or flipping halfway is non-negotiable for even results.
When to shake:
- French fries, tater tots, and hash browns: shake at the halfway point.
- Chicken wings or drumsticks: flip them over at the 10-minute mark.
- Roasted vegetables: shake the basket gently to redistribute.
I once tried to skip shaking my sweet potato fries. The top ones were perfect, but the bottom ones were burnt. Now I set a timer for the halfway point—no exceptions.
Batch Size and Overcrowding: Don’t Overload the Basket
Your Cooks Essential Air Fryer has a capacity of about 3.5 quarts—enough for 2–3 servings. But here’s the catch: if you overfill the basket, hot air can’t circulate. Result? Soggy, unevenly cooked food.
Rule of thumb: fill the basket no more than 2/3 full, and keep food in a single layer with space between pieces. If you’re cooking for a family, cook in batches. It’s faster than waiting for a soggy mess to finish.
Example: I tried to cook 1.5 pounds of chicken wings in one go. Half were undercooked, half were dry. Now I do 12 wings at a time—crispy, juicy, and ready in 20 minutes.
Essential Accessories and Upgrades
Must-Have Add-Ons for Better Cooking
While the basic basket and tray are great, a few accessories can take your air frying game to the next level:
- Silicone liners or parchment paper: Prevents sticking and makes cleanup easier. Use pre-cut parchment rounds or cut your own. Just make sure they don’t block airflow.
- Silicone tongs or a slotted spoon: Perfect for flipping delicate items like fish or tofu.
- Oil spray bottle: A reusable glass or stainless steel sprayer gives you precise oil control.
- Meat thermometer: Ensures meats are cooked safely. Insert into the thickest part to check internal temperature.
I keep my silicone liners stacked in a small container next to the air fryer. It’s a small investment that saves me time scrubbing sticky residue.
DIY Accessories You Already Own
Don’t want to buy more stuff? You can use what you already have:
- Oven-safe silicone molds: Great for mini frittatas, muffins, or even chocolate lava cakes.
- Small metal ramekins: Perfect for cooking eggs, heating dips, or making single-serve casseroles.
- Aluminum foil: Use it to wrap fish or veggies for steaming, but don’t cover the entire basket—airflow matters!
Just remember: never use anything that blocks the air vents or touches the heating element.
When to Replace Your Non-Stick Coating
The non-stick coating on your basket and tray will wear over time—especially if you scrub with metal utensils or use abrasive cleaners. Signs it’s time to replace:
- Visible scratches or peeling.
- Food sticks more than usual.
- Unusual odors when heated.
Replacement baskets are available online. I replaced mine after 18 months of heavy use. The new one made my fries crispier than ever—like I’d just upgraded the whole machine.
Common Mistakes and How to Fix Them
“My Food Is Soggy” – The #1 Complaint
Soggy results usually come from two causes: too much moisture or overcrowding.
Here’s how to fix it:
- Pat food dry before cooking. Wet chicken or veggies won’t crisp up.
- Pre-cook starchy foods like potatoes. Boil or microwave them for 2–3 minutes to remove excess water, then air fry.
- Use the crisper tray (included) to elevate food and allow air to circulate underneath.
For example: I used to toss raw sweet potato fries straight into the air fryer. They came out limp. Now I microwave them for 2 minutes first—crispy perfection in 10 minutes.
“My Food Is Burnt on the Bottom”
This happens when food touches the heating element or isn’t flipped. Solutions:
- Always use the crisper tray—it creates a barrier between food and the heating coil.
- Shake or flip food halfway through cooking.
- Lower the temperature by 10–25°F if you’re cooking for a long time (e.g., 25+ minutes).
I once left a batch of chicken thighs in for 25 minutes at 390°F. The bottoms were charcoal. Now I cook them at 360°F and flip at 12 minutes—juicy and golden.
“It Smells Like Plastic”
New air fryers often have a “break-in” odor. This is normal and fades after a few uses. To speed it up:
- Run the air fryer empty at 400°F for 10 minutes, 2–3 times.
- Wipe down the interior with a vinegar-water mix (1:1) after each use.
- Avoid cooking fatty meats (like bacon) for your first few batches—they can smoke and smell.
After my third use, the plastic smell was gone. Now it just smells like whatever I’m cooking—usually garlic and herbs.
5 Easy Cooks Essential Air Fryer Recipes for Every Meal
Breakfast: Crispy Hash Brown Patties (5 minutes)
Who needs frozen patties? Make your own with shredded potatoes.
Ingredients:
- 1 cup shredded potatoes (squeezed dry)
- 1 tbsp oil
- 1/4 tsp salt, 1/4 tsp pepper
Steps:
- Preheat air fryer to 375°F for 5 minutes.
- Mix potatoes, oil, and seasonings. Form into 2 patties.
- Place in basket (use parchment liner). Cook 5 minutes. Flip. Cook 3–4 more minutes.
Result: crispy, golden, and ready before your coffee brews.
Lunch: Buffalo Cauliflower Bites (15 minutes)
A vegetarian favorite with all the zing of wings.
Ingredients:
- 2 cups cauliflower florets
- 1 tbsp oil
- 1/4 cup buffalo sauce
- 1 tbsp melted butter (optional)
Steps:
- Toss cauliflower with oil. Air fry at 375°F for 10 minutes.
- Shake basket. Cook 5 more minutes.
- Toss with buffalo sauce (and butter). Serve with ranch.
Dinner: Garlic Butter Salmon (12 minutes)
Moist, flaky, and full of flavor—no oven needed.
Ingredients:
- 2 salmon fillets (6 oz each)
- 1 tbsp butter (melted)
- 1 tsp minced garlic
- 1/2 tsp lemon juice
- Salt and pepper
Steps:
- Preheat to 375°F.
- Mix butter, garlic, lemon, salt, and pepper. Brush on salmon.
- Place in basket (skin-side down). Cook 10–12 minutes. Check internal temp: 145°F.
Snack: Mozzarella Sticks (10 minutes)
Yes, you can make these from frozen—but homemade is better.
Ingredients:
- 8 mozzarella string cheese sticks
- 1/2 cup flour
- 1 egg (beaten)
- 1/2 cup breadcrumbs
- 1/2 tsp garlic powder
Steps:
- Dip each stick in flour, egg, then breadcrumbs.
- Freeze 10 minutes (keeps cheese from melting too fast).
- Air fry at 390°F for 6–8 minutes. Serve with marinara.
Dessert: Banana Oat Cookies (10 minutes)
Healthy, sweet, and ready in minutes.
Ingredients:
- 1 ripe banana (mashed)
- 1/2 cup oats
- 1/4 tsp cinnamon
- 1 tbsp chocolate chips (optional)
Steps:
- Mix all ingredients. Form into 6 small cookies.
- Place on parchment in air fryer. Cook at 320°F for 8–10 minutes.
Data Table: Cooking Times and Temperatures for Common Foods
| Food | Temperature (°F) | Cooking Time (min) | Notes |
|---|---|---|---|
| Frozen French Fries | 400 | 12–15 | Shake halfway |
| Chicken Breast (6 oz) | 375 | 15–18 | Flip at 10 min |
| Salmon Fillet | 375 | 10–12 | Check internal temp: 145°F |
| Sweet Potato Fries | 375 | 12–14 | Microwave 2 min first |
| Chicken Wings | 380 | 20–25 | Flip at 10 min |
| Broccoli | 375 | 8–10 | Shake halfway |
| Hard-Boiled Eggs | 275 | 15 | Use a ramekin |
| Frozen Fish Sticks | 400 | 10–12 | No oil needed |
Use this table as a starting point. Adjust times based on your air fryer’s performance and food thickness. Always check internal temperatures for meats.
Final Thoughts: Your Air Fryer, Your Way
Your Cooks Essential Air Fryer isn’t just a gadget—it’s a kitchen revolution in a compact package. It saves time, cuts calories, and makes cooking fun again. But like any tool, it works best when you understand its quirks and strengths.
Remember: preheat, don’t overcrowd, shake halfway, and use a little oil. Keep your basket clean and replace it when the coating wears. And don’t be afraid to experiment. I’ve turned my air fryer into a rotisserie (with a DIY skewer), a dehydrator (for apple chips), and even a bread warmer.
The key to perfect results every time isn’t a magic setting—it’s consistency, practice, and knowing how your appliance behaves. Whether you’re making a quick weeknight dinner or impressing guests with crispy brussels sprouts, your air fryer can handle it.
So go ahead—fire it up, load it up, and enjoy the crunch. With this Cooks Essential Air Fryer user guide in your back pocket, you’re ready to cook smarter, not harder. Happy frying!
Frequently Asked Questions
What is the best way to clean my Cooks Essential Air Fryer?
To clean your Cooks Essential Air Fryer, unplug it and let it cool. Wash the basket and tray with warm, soapy water or place them in the dishwasher for quick maintenance. Wipe the exterior with a damp cloth to avoid damaging the non-stick coating.
How do I use the Cooks Essential Air Fryer for the first time?
Before using your Cooks Essential Air Fryer, remove all packaging and wash the basket and tray. Preheat the air fryer for 3–5 minutes at 350°F (175°C) to eliminate any manufacturing residue. This ensures optimal performance and food safety for your first recipe.
Can I cook frozen foods in the Cooks Essential Air Fryer without thawing?
Yes, the Cooks Essential Air Fryer is perfect for cooking frozen foods directly—no thawing needed. Adjust cooking time by adding 2–5 minutes and check for doneness, as frozen items may require slightly longer than fresh ingredients.
What are some quick and healthy recipes for the Cooks Essential Air Fryer?
Try air-fried salmon with lemon and herbs, crispy Brussels sprouts, or sweet potato fries with a light oil spray. The Cooks Essential Air Fryer User Guide includes time-saving recipes that use minimal oil for healthier results without sacrificing flavor.
Why is my food not crispy when using the air fryer?
If your food isn’t crispy, avoid overcrowding the basket—cook in batches for better air circulation. Lightly coat ingredients with oil or use a spritz of cooking spray to enhance crispiness, especially for breaded or starchy foods.
How do I adjust cooking times from a traditional oven to the Cooks Essential Air Fryer?
Reduce traditional oven temperatures by 25°F and shorten cooking time by 20–30% when using the Cooks Essential Air Fryer. Always monitor food during the first few uses to prevent overcooking, as air fryers circulate heat more efficiently.