
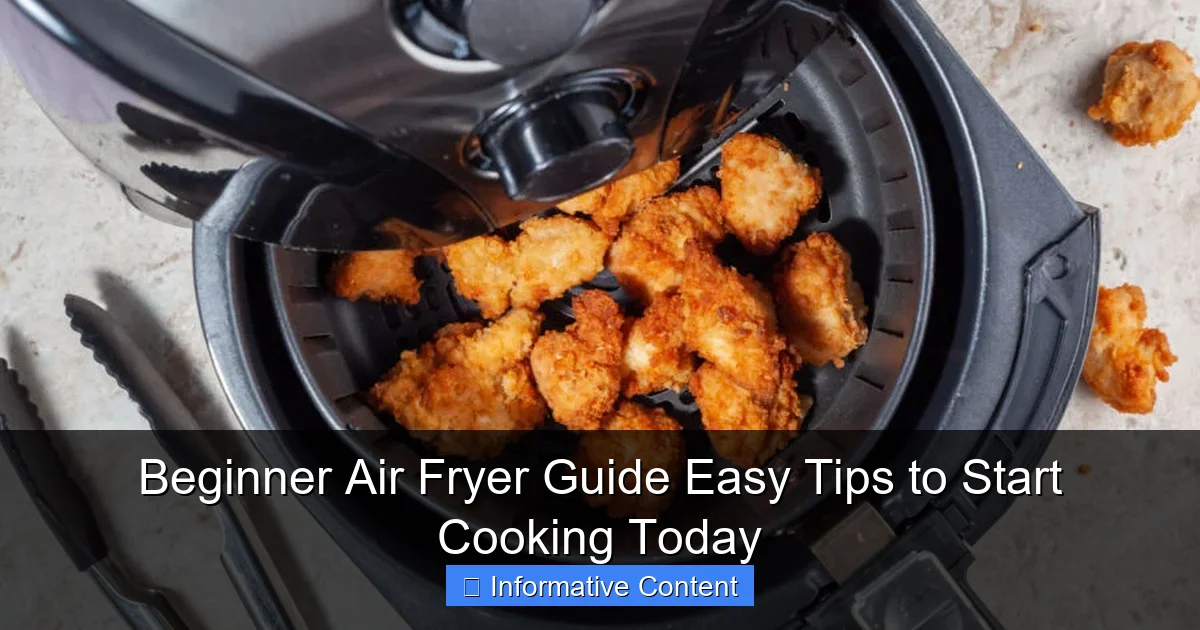
Featured image for beginner air fryer
Image source: makeyourmeals.com
Master your beginner air fryer in minutes with simple tips that deliver crispy, delicious meals using little to no oil. From preheating to proper basket spacing, this guide ensures foolproof results every time—no experience needed. Start cooking confidently today with fast, healthy recipes designed for air frying newcomers.
Key Takeaways
- Preheat your air fryer: Ensures even cooking and crispier results every time.
- Use minimal oil: A light spray is enough for healthier, delicious meals.
- Don’t overcrowd the basket: Leave space for air circulation and better browning.
- Shake or flip halfway: Promotes uniform cooking for perfectly crisped food.
- Start with simple recipes: Master basics like fries or chicken before experimenting.
- Clean after each use: Prevents smoke and maintains performance long-term.
📑 Table of Contents
- Why an Air Fryer Might Be the Best Kitchen Gadget You’ve Never Tried
- What Is a Beginner Air Fryer (And Why You Need One)
- Choosing Your First Air Fryer: What to Look For
- First-Time Setup and Safety Tips (Don’t Skip These!)
- 5 Easy Beginner Air Fryer Recipes to Try Today
- Common Beginner Mistakes (And How to Fix Them)
- Air Fryer Cooking Time & Temperature Guide (Quick Reference)
- Final Thoughts: Your Air Fryer Journey Starts Now
Why an Air Fryer Might Be the Best Kitchen Gadget You’ve Never Tried
Picture this: It’s a busy weeknight. You’ve been on your feet all day, and the last thing you want to do is spend an hour prepping dinner. You open the fridge, hoping for inspiration. Instead, you find a sad-looking chicken breast and a bag of frozen fries. The thought of turning on the oven makes you sigh. But then—your eyes land on your beginner air fryer, sitting quietly on the countertop like a kitchen superhero waiting for its moment.
That’s exactly how I felt the first time I used mine. I was skeptical. “How can a little machine cook food with little to no oil and still taste crispy?” But after my first batch of air-fried chicken tenders (crispy outside, juicy inside), I was hooked. The truth? A beginner air fryer isn’t just a trendy gadget—it’s a real game-changer for home cooks who want quick, healthy, and delicious meals without the hassle of deep frying or oven preheating. And if you’re just starting out, you’re in the perfect place to learn how to make the most of it.
What Is a Beginner Air Fryer (And Why You Need One)
If you’re new to air fryers, let’s clear up the confusion. An air fryer isn’t actually a fryer. It’s more like a mini convection oven that uses rapid air circulation to cook food from all sides. The hot air, combined with a small amount of oil (or sometimes none at all), creates that golden, crispy texture we love—without the 400°F deep fryer or the hour-long oven preheat.
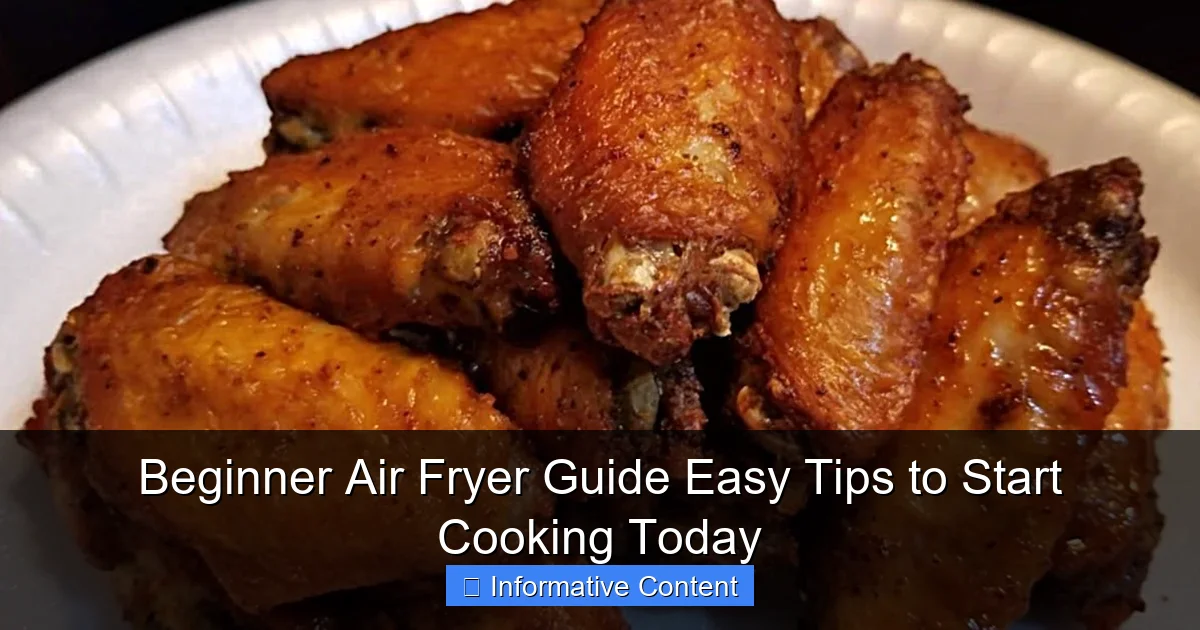
Visual guide about beginner air fryer
Image source: diyjoy.com
How It Works (No Science Degree Required)
Think of it like this: a fan blows super-hot air around your food at high speed. This process, called rapid air technology, crisps the outside while sealing in moisture. It’s the same principle behind convection ovens, but faster and more compact. The result? Crispy fries, tender chicken wings, roasted veggies, and even baked potatoes—all in 15–20 minutes.
Why Beginners Love It
- No deep frying mess: No oil splatters, no smoke, no stinky kitchen.
- Faster than an oven: Most air fryers preheat in under 3 minutes and cook food 25–30% faster.
- Healthier meals: Uses up to 80% less oil than traditional frying.
- Easy cleanup: Most baskets are non-stick and dishwasher-safe.
- Versatile: You can fry, roast, bake, reheat, and even dehydrate.
One of my favorite beginner wins? Reheating leftover pizza. In the microwave, it gets soggy. In the oven, it takes forever. But in the air fryer? Crispy crust, melty cheese—like it’s fresh from the pizzeria. That’s the magic.
Choosing Your First Air Fryer: What to Look For
Walking into a store (or scrolling online) can be overwhelming. There are basket models, toaster oven styles, digital vs. analog, and prices ranging from $50 to $200+. But don’t panic. Here’s what actually matters for a beginner air fryer.
Size and Capacity
Size depends on how many people you’re feeding. As a rule of thumb:
- 2–3 quarts: Great for 1–2 people. Perfect for snacks, small meals, or side dishes.
- 3.5–5 quarts: Ideal for 2–4 people. Can handle a whole chicken or a batch of fries.
- 5.5+ quarts: Best for families or meal preppers. Larger footprint, but more cooking space.
I started with a 3.5-quart model. It’s big enough for two people and fits in my small kitchen. But if you often cook for guests, go bigger.
Digital vs. Manual Controls
Digital air fryers have preset buttons (like “Fries,” “Chicken,” “Fish”) and digital timers. Manual ones use dials for time and temperature. For beginners, digital is easier—fewer mistakes, more consistency. But if you like hands-on cooking, manual can work fine. Just remember: you’ll need to check your food more often.
Non-Stick Coating and Dishwasher Safety
Look for a removable, non-stick basket. It makes cleaning a breeze. Bonus points if it’s dishwasher-safe. I once tried scrubbing a sticky basket by hand—never again. Also, avoid metal utensils. They can scratch the coating and ruin your fryer’s surface.
Extra Features (Nice, But Not Necessary)
- Dual baskets: Cook two foods at once (e.g., fries and chicken). Great for families, but pricier.
- Smart app control: Adjust settings from your phone. Cool, but overkill for most.
- Rapid heat technology: Heats up faster. Helpful, but not a dealbreaker.
My advice? Start simple. A 4-quart digital air fryer with a non-stick, dishwasher-safe basket is the sweet spot for most beginners.
First-Time Setup and Safety Tips (Don’t Skip These!)
You’ve got your beginner air fryer home. Exciting! But before you start cooking, let’s make sure you do it safely and correctly. A few quick steps now can save you headaches later.
Unboxing and First Run (The “Smoke Test”)
New air fryers often have a protective oil coating. When you run them empty for the first time, they might smoke a little. This is normal. Here’s what to do:
- Wash the basket and tray with warm, soapy water.
- Wipe the inside of the unit with a damp cloth (never immerse it in water).
- Place the basket inside, set to 400°F, and run for 10 minutes.
- Ventilate your kitchen—open a window or turn on a fan.
I learned this the hard way. My first “smoke test” set off the fire alarm. Lesson learned: always read the manual!
Proper Placement Matters
Air fryers need space to breathe. Never place them:
- Under cabinets (traps heat)
- On flammable surfaces (paper, plastic)
- Too close to walls (blocks airflow)
Keep at least 6 inches of space on all sides. I keep mine on a heat-resistant trivet on the countertop, away from the sink.
Don’t Overfill the Basket
This is the #1 mistake beginners make. Air fryers need space for air to circulate. If you pack food too tightly, it steams instead of crisps. Rule of thumb: leave at least 1 inch between food pieces.
For example: When I tried to cook a whole bag of frozen fries at once, the center ones came out mushy. Now, I cook them in two batches. Crispy every time.
Use the Right Accessories
Some air fryers come with extras like:
- Baking pans: For cakes, muffins, or frittatas.
- Silicone liners: Prevent sticking and make cleanup easier.
- Grilling racks: Elevate food for even browning.
But don’t use anything metal unless it’s air fryer-safe. And never use paper towels or aluminum foil without securing it—they can fly into the heating element and cause a fire.
5 Easy Beginner Air Fryer Recipes to Try Today
Now that you’re set up, let’s cook! These recipes are foolproof, fast, and perfect for building your confidence. Each takes under 30 minutes and uses ingredients you likely already have.
1. Crispy Air Fryer Chicken Tenders (No Breading Needed)
Ingredients:
- 1 lb chicken tenders
- 1 tbsp olive oil
- 1 tsp garlic powder
- 1 tsp paprika
- Salt and pepper to taste
Instructions:
- Preheat air fryer to 375°F.
- Toss chicken with oil and seasonings.
- Place in a single layer in the basket.
- Cook 10 minutes, flip, cook 8 more minutes.
- Check internal temp: 165°F.
Tip: For extra crispiness, spray lightly with oil halfway through.
2. Garlic Butter Shrimp (Ready in 12 Minutes)
Ingredients:
- 1 lb raw shrimp, peeled
- 2 tbsp butter, melted
- 2 cloves garlic, minced
- 1 tsp lemon juice
- Salt, pepper, parsley
Instructions:
- Preheat to 390°F.
- Toss shrimp with butter, garlic, lemon, salt, and pepper.
- Cook 6 minutes, flip, cook 4–6 more minutes.
- Garnish with parsley.
Pro move: Add a splash of white wine for restaurant-level flavor.
3. Roasted Sweet Potato Cubes (Healthy Side Dish)
Ingredients:
- 2 medium sweet potatoes, cubed
- 1 tbsp olive oil
- ½ tsp smoked paprika
- Salt to taste
Instructions:
- Preheat to 400°F.
- Toss potatoes with oil and seasonings.
- Cook 12 minutes, shake basket, cook 8 more minutes.
Bonus: Sprinkle with cinnamon and a drizzle of maple syrup for a sweet twist.
4. Reheated Pizza (Yes, It Works!)
Instructions:
- Place 1–2 slices in basket.
- Cook at 350°F for 3–4 minutes.
No more soggy microwave pizza. The crust crisps up perfectly.
5. Chocolate Chip Cookies (Surprise Dessert!)
Ingredients:
- Store-bought cookie dough (or homemade)
- Mini chocolate chips (optional)
Instructions:
- Roll dough into 1-inch balls.
- Place 3–4 in basket (don’t crowd).
- Cook at 325°F for 6–8 minutes.
Note: They’ll look underdone but firm up as they cool.
Common Beginner Mistakes (And How to Fix Them)
Even with the best intentions, we all make mistakes. Here are the top 5 I’ve made—and how to avoid them.
1. Setting the Temperature Too High
Air fryers cook fast. If you use the same temp as your oven, food can burn. Rule: Reduce oven temps by 25°F. For example, if a recipe says “bake at 400°F,” set your air fryer to 375°F.
I once burned garlic bread by using 400°F. Now I stick to 375°F—crispy, not charred.
2. Forgetting to Shake or Flip
Air fryers cook unevenly if food isn’t moved. For anything in pieces (fries, veggies, chicken nuggets), shake the basket halfway through. For larger items (chicken breast, salmon fillets), flip them.
3. Using Too Much Oil
You don’t need a lot. A light spray or 1 tsp of oil is enough. Too much oil drips into the pan and smokes. Use an oil sprayer for even coating.
4. Not Preheating
Just like an oven, preheating ensures even cooking. Most air fryers take 2–3 minutes to heat up. Always preheat for crispy results.
5. Cleaning Too Late
Letting food sit in the basket makes it stick. Clean it within 30 minutes of cooking. Soak the basket in hot, soapy water while you eat. A soft sponge and dish soap do the trick. Never use steel wool or abrasive cleaners.
Air Fryer Cooking Time & Temperature Guide (Quick Reference)
Here’s a handy table to help you cook common foods without guesswork. Remember: always check internal temperatures for meat and poultry.
| Food | Temperature | Time | Tips |
|---|---|---|---|
| Frozen Fries | 400°F | 12–15 min | Shake halfway |
| Chicken Wings | 380°F | 20–25 min | Flip halfway |
| Salmon Fillet | 375°F | 10–12 min | Check at 8 min |
| Broccoli | 390°F | 8–10 min | Toss with oil |
| Frozen Burgers | 360°F | 12–15 min | Flip halfway |
| Baked Potatoes | 400°F | 35–40 min | Poke holes first |
| Reheat Leftovers | 350°F | 3–5 min | Use for pizza, fries, nuggets |
Use this as a starting point. Every air fryer is a little different, so adjust times as needed. And always trust your eyes—golden brown = good. Black = too long.
Final Thoughts: Your Air Fryer Journey Starts Now
Starting with a beginner air fryer doesn’t have to be intimidating. In fact, it should feel fun. Think of it as your new kitchen sidekick—one that helps you cook faster, eat healthier, and clean less.
You don’t need to master everything at once. Start with simple recipes. Learn how your model handles heat. Experiment with seasonings. And don’t stress if something burns or sticks. We’ve all been there. (I still occasionally overcook my broccoli—but I just eat it anyway.)
The best part? An air fryer fits into your real life. Busy weeknights? Crispy chicken in 20 minutes. Craving comfort food? Fries without guilt. Hosting friends? Impress them with golden, juicy wings. And the cleanup? Just pop the basket in the dishwasher.
So go ahead—plug it in, preheat it, and toss in that first batch of chicken tenders. That beginner air fryer of yours isn’t just a gadget. It’s your ticket to easier, tastier, and smarter cooking. And once you get the hang of it, you’ll wonder how you ever lived without it.
Happy air frying!
Frequently Asked Questions
What is a beginner air fryer and how does it work?
A beginner air fryer is a compact, user-friendly kitchen appliance that circulates hot air to cook food with little to no oil, delivering crispy results. It’s perfect for newcomers because most models have simple controls and preset cooking programs for common foods like fries or chicken.
What should I look for when buying my first air fryer?
When choosing a beginner air fryer, prioritize ease of use, capacity (3–5 quarts is ideal for singles or small families), and preset cooking functions. Non-stick baskets and dishwasher-safe parts also make cleanup effortless, a big plus for new users.
Can I cook frozen foods in a beginner air fryer?
Yes! Air fryers are excellent for cooking frozen foods like nuggets, fries, or veggies—no thawing needed. Just add 1–3 minutes to the recommended cook time and shake the basket halfway for even crisping.
Do I need to preheat my air fryer before cooking?
Preheating isn’t always required, but doing so (3–5 minutes on the target temperature) helps achieve crispier results, especially for delicate items like pastries. Most beginner air fryers have a preheat setting or indicator light for convenience.
What recipes are easiest for a beginner air fryer?
Start with simple recipes like frozen fries, chicken tenders, or roasted vegetables—they require minimal prep and cook quickly. Many beginner air fryer models come with recipe booklets to help you build confidence.
Are air fryers safe to use for first-time cooks?
Absolutely! Air fryers are safer than traditional frying because they use enclosed heating elements and minimal oil. Just follow the manual’s safety guidelines, like avoiding overcrowding the basket and using oven mitts when handling hot trays.