
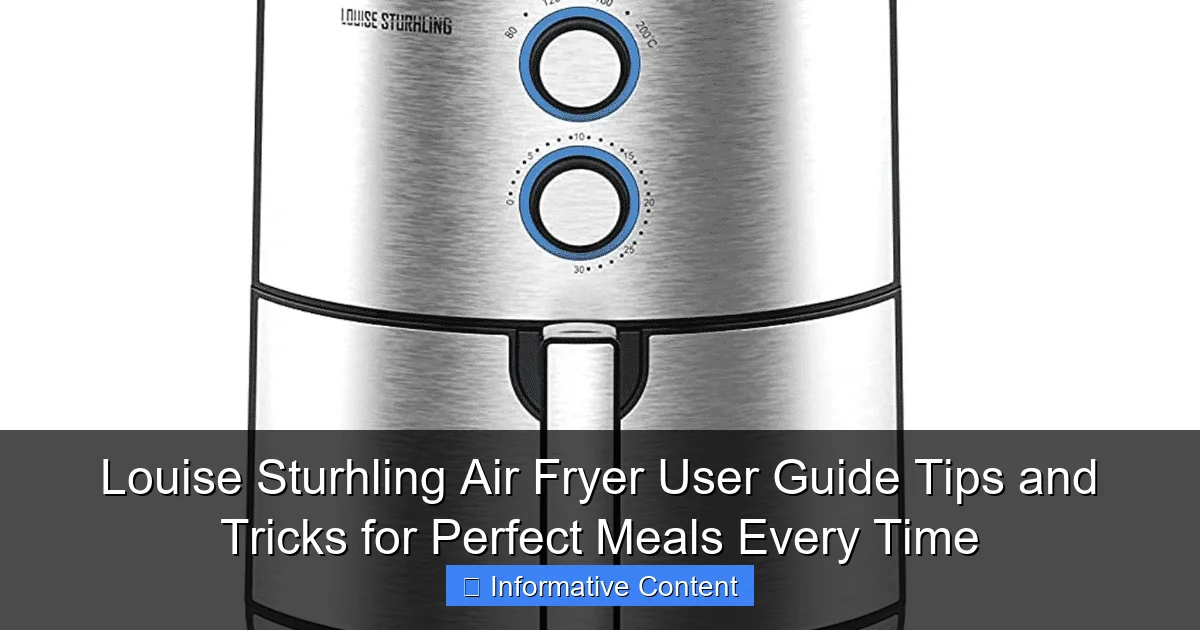
Featured image for louise sturhling air fryer user guide
Image source: airfryerrecipes.com
Maximize your cooking potential with the Louise Sturhling Air Fryer User Guide, your go-to resource for crispy, healthy meals in minutes. Master time-saving tips, foolproof settings, and pro tricks to achieve restaurant-quality results every time—no guesswork needed.
Key Takeaways
- Preheat for crispiness: Always preheat to ensure evenly cooked, crispy meals.
- Shake or flip food: Promote even browning by shaking the basket halfway.
- Use minimal oil: Achieve crunch with just 1 tsp of oil for health.
- Don’t overcrowd basket: Leave space for air circulation and perfect results.
- Clean after each use: Prevent odors and extend appliance lifespan easily.
- Experiment with temps: Adjust settings for optimal texture and flavor every time.
📑 Table of Contents
- Why the Louise Sturhling Air Fryer Could Be Your Kitchen’s Best Friend
- Getting Started: Unboxing, Setup, and First Impressions
- Mastering the Controls: Presets, Timers, and Temperature Tips
- Cooking Techniques for Perfect Results Every Time
- Cleaning and Maintenance: Keep It Running Like New
- Recipes and Meal Ideas: From Breakfast to Dessert
- Final Thoughts: Is the Louise Sturhling Air Fryer Worth It?
Why the Louise Sturhling Air Fryer Could Be Your Kitchen’s Best Friend
Let’s be honest: we’ve all had those days when cooking feels like a chore. The oven takes forever to preheat, the stovetop splatters oil everywhere, and by the time your meal is ready, you’re too tired to enjoy it. That’s where the Louise Sturhling air fryer steps in like a quiet kitchen superhero. It’s compact, efficient, and surprisingly versatile—perfect for busy families, solo eaters, or anyone who just wants to make crispy chicken wings without setting off the smoke alarm. I’ve had mine for over a year now, and it’s become my go-to for everything from reheating leftovers to making guilt-free fries. But like any kitchen gadget, it takes a little getting used to. That’s why I’m sharing my real-world tips, tricks, and lessons learned to help you get the most out of yours.
Whether you’re a first-time air fryer user or just looking to up your game, this Louise Sturhling air fryer user guide is designed to be your friendly companion. We’ll cover everything from unboxing and setup to advanced cooking techniques, cleaning hacks, and even some recipes that’ll make your taste buds dance. No fluff, no hype—just honest, practical advice based on real use. By the end, you’ll feel confident turning this little machine into a daily kitchen workhorse. Let’s dive in!
Getting Started: Unboxing, Setup, and First Impressions
What’s in the Box?
When you first open your Louise Sturhling air fryer, you’ll find:
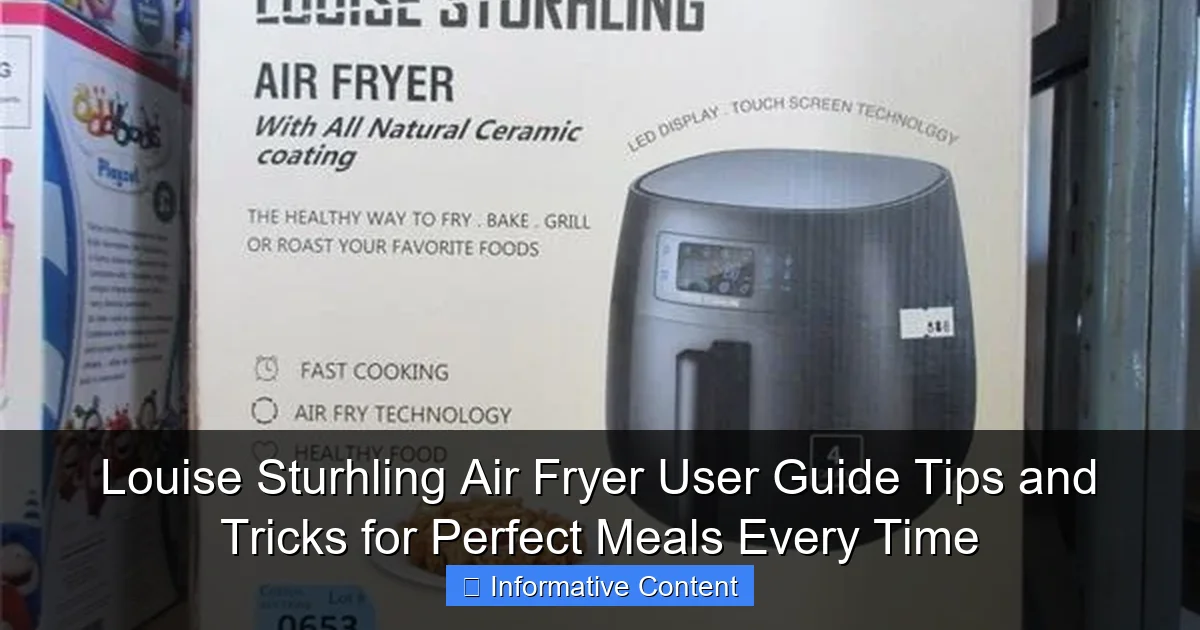
Visual guide about louise sturhling air fryer user guide
Image source: dygtyjqp7pi0m.cloudfront.net
- The main air fryer unit with a digital control panel
- A non-stick cooking basket with a removable crisper plate
- A user manual (keep this handy!)
- Sometimes, a recipe booklet (varies by retailer)
One thing I appreciated right away: the build quality. The unit feels solid—not flimsy or cheap. The basket slides in and out smoothly, and the non-stick coating is genuinely non-stick (a rare find!). The digital interface is intuitive, with clearly labeled buttons for temperature, time, and preset programs. No confusing symbols or tiny fonts here.
First-Time Setup: A 5-Minute Job
Setting up your Louise Sturhling air fryer is a breeze. Here’s what I did:
- Washed the basket, crisper plate, and drawer with warm, soapy water. Let them air dry.
- Placed the unit on a flat, heat-resistant surface with at least 5 inches of space on all sides (critical for airflow).
- Plugged it in and ran a “test cycle” at 390°F (200°C) for 5 minutes with no food. This burns off any factory residues and preps the non-stick surface. (Pro tip: Do this near an open window or with your vent fan on—there might be a faint plastic smell, which is normal.)
After that, I was ready to cook. The first meal? Crispy sweet potato fries. They came out golden, slightly crisp on the outside, and tender inside—no oil needed. I was hooked.
Key Features That Matter
What sets the Louise Sturhling apart from other air fryers? A few standout features:
- 8 preset programs: Fries, chicken, steak, fish, shrimp, bake, roast, and reheat. These aren’t just marketing gimmicks—they’re well-calibrated for common foods.
- Digital touch controls: No dials to get sticky. Just tap and go.
- 1,500-watt heating element: Heats up fast (under 2 minutes) and maintains temperature well.
- 3.7-quart capacity: Fits a 2-pound chicken or 1.5 lbs of fries. Perfect for 1–3 people.
One small quirk: the basket doesn’t have a handle, so you’ll need to grip the sides. It’s not a dealbreaker, but I’ve burned my fingers a few times when rushing. Keep oven mitts nearby!
Mastering the Controls: Presets, Timers, and Temperature Tips
How to Use the Preset Programs (Without Overthinking)
The presets are a lifesaver for beginners. Let’s break down what each one does:
| Preset | Default Temp (°F) | Default Time (min) | Best For |
|---|---|---|---|
| Fries | 390 | 15 | Frozen fries, sweet potato fries, tater tots |
| Chicken | 375 | 25 | Bone-in chicken, chicken tenders, nuggets |
| Steak | 400 | 12 | Steaks up to 1.5 inches thick |
| Fish | 375 | 12 | Cod, salmon, tilapia (thicker cuts may need +5 min) |
| Shrimp | 390 | 8 | Frozen shrimp, prawns |
| Bake | 350 | 20 | |
| Roast | 375 | 30 | Vegetables, potatoes, whole chickens |
| Reheat | 350 | 10 | Pizza, leftovers, fried foods |
These defaults are great starting points, but don’t be afraid to tweak them. For example, I find the “Fries” setting perfect for frozen fries, but for fresh-cut potatoes, I reduce the time to 12 minutes and flip them halfway to avoid burning. The “Chicken” preset works well for boneless breasts, but bone-in thighs need 30+ minutes at 375°F.
Manual Mode: When You Need Full Control
Sometimes, you’ll want to go off-script. That’s where manual mode shines. Here’s how to use it:
- Press the “Power” button.
- Tap the “Time” button and use the +/– buttons to set cooking time (1–60 minutes).
- Tap the “Temp” button and set temperature (175–400°F).
- Press “Start/Pause” to begin.
My go-to manual combo? 375°F for 15 minutes for crispy Brussels sprouts. Or 350°F for 25 minutes for a whole chicken breast with a spice rub. The key is to check food early—air fryers cook fast, and overcooking happens in seconds.
Pro Tip: The 2-Minute Rule
Air fryers work by circulating hot air, so food cooks faster than a conventional oven. My golden rule: reduce oven time by 20–25% and lower the temperature by 25°F. For example, if a recipe says “bake at 400°F for 20 minutes,” try 375°F for 15–16 minutes in the air fryer. This prevents dry, overcooked results.
Cooking Techniques for Perfect Results Every Time
The Art of Prepping Food (It’s Not Just About Tossing It In)
Air fryers aren’t magic. The way you prep food makes a huge difference. Here’s what I’ve learned:
- Cut food evenly: Uniform pieces cook evenly. For fries, aim for ¼-inch thick sticks. For chicken, slice breasts to 1-inch thickness.
- Pat food dry: Moisture = steam = soggy results. Dry chicken, fish, and veggies with a paper towel before seasoning.
- Light oil spray: A quick spritz (1–2 seconds) helps achieve crispiness. Use avocado, olive, or grapeseed oil. Avoid butter—it burns.
- Don’t overcrowd: Leave space between items. If you’re cooking 2 lbs of fries, do it in 2 batches. Overcrowding traps steam and leads to steaming, not crisping.
Example: When I first tried frozen chicken nuggets, I dumped them all in. They came out pale and rubbery. The next time, I spaced them out, spritzed with oil, and they were golden and juicy. Lesson learned!
Flipping, Shaking, and Pausing: Your Secret Weapons
Air fryers circulate air from the bottom, so food on the top cooks faster than the bottom. To fix this:
- Shake the basket halfway through for fries, nuggets, or veggies. I use a silicone spatula to gently toss them.
- Flip proteins like chicken or fish. Pause the cook, open the basket, flip with tongs, and restart.
- Use the pause function to check doneness. Press “Start/Pause” to stop the timer, check food, then press again to resume.
Pro move: For crispy skin chicken, cook breast-side down for the first 10 minutes, then flip and cook 10 more. The skin gets extra crispy without drying out the meat.
Layering and Baking: Beyond Fries and Chicken
Your air fryer can do way more than crispy snacks. Try these techniques:
- Layering: Use a silicone liner or parchment paper (cut to fit) to layer foods. I make “air fryer nachos” by layering tortilla chips, cheese, and toppings. Cook at 350°F for 5 minutes until melted.
- Baking: Use oven-safe dishes (glass, ceramic, or metal). I bake mini quiches in a 6-ounce ramekin at 325°F for 15 minutes. No preheating needed!
- Dehydrating: Slice apples or bananas, toss with cinnamon, and air fry at 175°F for 1–2 hours. Perfect for healthy snacks.
One of my favorite tricks? Making garlic bread. Place slices on parchment, brush with garlic butter, and air fry at 375°F for 4 minutes. Crispy on the outside, soft inside—no soggy middle!
Cleaning and Maintenance: Keep It Running Like New
Daily Cleaning: The 5-Minute Routine
After every use, clean these parts:
- Pull out the basket and drawer. Let them cool for 10 minutes.
- Wash with warm, soapy water. Use a non-abrasive sponge (no steel wool!). The non-stick coating is durable but not indestructible.
- Scrub the crisper plate with a soft brush to remove stuck-on bits.
- Rinse and dry thoroughly before reassembling. Water trapped in the drawer can cause rust.
Pro tip: If food is stuck, soak the basket in hot, soapy water for 10 minutes. It loosens debris without scrubbing.
Deep Cleaning: Monthly Checkup
Every 4–6 weeks, give your air fryer a deep clean:
- Unplug and cool completely.
- Wipe the heating element (the coil at the top) with a dry microfiber cloth. Don’t use water—it’s electrical!
- Clean the exterior with a damp cloth and mild cleaner. Avoid harsh chemicals.
- Check the air vents (on the sides and back) for dust. Use a cotton swab or soft brush to remove buildup.
- Inspect the non-stick coating. If it’s scratched, consider replacing the basket to avoid metal exposure.
I learned this the hard way. After 8 months, I noticed a small scratch on my crisper plate. I kept using it, and eventually, the coating started peeling. Louise Sturhling sells replacement baskets—worth the investment to keep your air fryer safe and effective.
Troubleshooting Common Issues
Even the best air fryers have quirks. Here’s how to fix them:
- Food sticks to the basket: Ensure it’s clean and lightly oiled. Never cook without the crisper plate—it’s essential for airflow.
- Food cooks unevenly: Shake or flip halfway. Check for overcrowding.
- Smoke or burning smell: Clean the heating element. Avoid cooking high-fat foods (like bacon) without a liner—drippings can burn.
- Unit doesn’t start: Ensure the basket is fully inserted. The safety switch won’t engage if it’s loose.
Recipes and Meal Ideas: From Breakfast to Dessert
Breakfast: Faster Than a Drive-Thru
Your air fryer can whip up breakfast in minutes:
- Hard-boiled eggs: Pierce the wide end with a pin. Cook at 275°F for 15 minutes. Shock in ice water to peel easily.
- Breakfast burritos: Wrap tortillas around scrambled eggs, cheese, and sausage. Spray with oil and cook at 375°F for 5 minutes.
- Oatmeal cups: Mix oats, milk, and fruit in a ramekin. Cook at 350°F for 12 minutes. Top with nuts.
My go-to: Air fryer French toast. Dip bread in a mix of eggs, milk, and cinnamon. Cook at 375°F for 6 minutes per side. No soggy middle!
Lunch & Dinner: One-Pot Wonders
Save time with these easy meals:
- Sheet-pan veggie bowls: Toss sweet potatoes, broccoli, and bell peppers with oil and spices. Cook at 400°F for 20 minutes, shaking halfway. Top with quinoa and tahini.
- Salmon with lemon: Place salmon fillets in a foil boat with lemon slices and herbs. Cook at 375°F for 12 minutes. Flake with a fork.
- Stuffed bell peppers: Mix ground turkey, rice, and tomato sauce. Stuff peppers and cook at 375°F for 25 minutes.
Pro tip: For meatloaf, shape the mixture into a loaf pan or foil boat. Cook at 375°F for 30 minutes. No soggy crust!
Dessert: Yes, You Can Bake in There!
Who said air fryers are just for savory food? Try:
- Apple chips: Slice apples thinly, sprinkle with cinnamon, and cook at 350°F for 15 minutes, flipping halfway.
- Brownie bites: Pour brownie batter into a greased ramekin. Cook at 325°F for 15 minutes. Top with ice cream.
- Banana “nice” cream: Slice frozen bananas, add cocoa powder, and pulse in a food processor. Serve immediately.
My favorite? Air fryer s’mores. Place a graham cracker, chocolate square, and marshmallow in a foil boat. Cook at 350°F for 3 minutes. Melty perfection!
Final Thoughts: Is the Louise Sturhling Air Fryer Worth It?
After a year of daily use, I can confidently say the Louise Sturhling air fryer is a kitchen game-changer. It’s not perfect—the lack of a basket handle is a minor annoyance, and the non-stick coating requires careful cleaning—but its strengths far outweigh the quirks. It saves time, reduces oil (and guilt), and makes cooking fun again. Whether you’re reheating pizza for lunch or roasting a whole chicken for dinner, it delivers consistent, delicious results.
The key to success? Treat it like a real tool, not a gadget. Follow the Louise Sturhling air fryer user guide tips here: prep food properly, don’t overcrowd, clean it regularly, and don’t be afraid to experiment. Start with simple recipes, then work up to advanced techniques. Before long, you’ll wonder how you ever cooked without it.
So, what are you waiting for? Fire up that air fryer, grab a bag of frozen fries (or better yet, slice your own), and get cooking. Your taste buds—and your kitchen—will thank you. Happy frying!
Frequently Asked Questions
How do I use the Louise Sturhling Air Fryer for the first time?
Before first use, wash the basket and tray with warm, soapy water and dry thoroughly. Run the air fryer empty for 10 minutes at 400°F to burn off any manufacturing residue, ensuring optimal performance with your Louise Sturhling Air Fryer.
What are the best tips for crispy results in my Louise Sturhling Air Fryer?
For extra crispiness, lightly coat food with oil and avoid overcrowding the basket—this ensures proper air circulation. Shake or flip items halfway through cooking for even browning, a pro trick in the Louise Sturhling Air Fryer User Guide.
Can I cook frozen foods without thawing in this air fryer?
Yes! The Louise Sturhling Air Fryer excels at cooking frozen foods like fries or nuggets directly—just add 2-3 minutes to the cooking time. No need to thaw, making it perfect for quick, hassle-free meals.
How do I clean the air fryer basket and tray?
The non-stick basket and tray are dishwasher-safe, but hand-washing with a soft sponge and mild detergent preserves their coating longer. Always ensure they’re completely dry before reassembling to avoid moisture damage.
What accessories work with the Louise Sturhling Air Fryer?
Compatible accessories include silicone liners, metal racks, and cake barrels designed for air fryers with similar dimensions. Check the user guide for size recommendations to avoid compatibility issues.
Why is my food cooking unevenly in the air fryer?
Uneven cooking often results from overcrowding or not shaking the basket mid-cycle. Follow the Louise Sturhling Air Fryer User Guide guidelines on portion sizes and use the “shake reminder” feature if your model has one.