
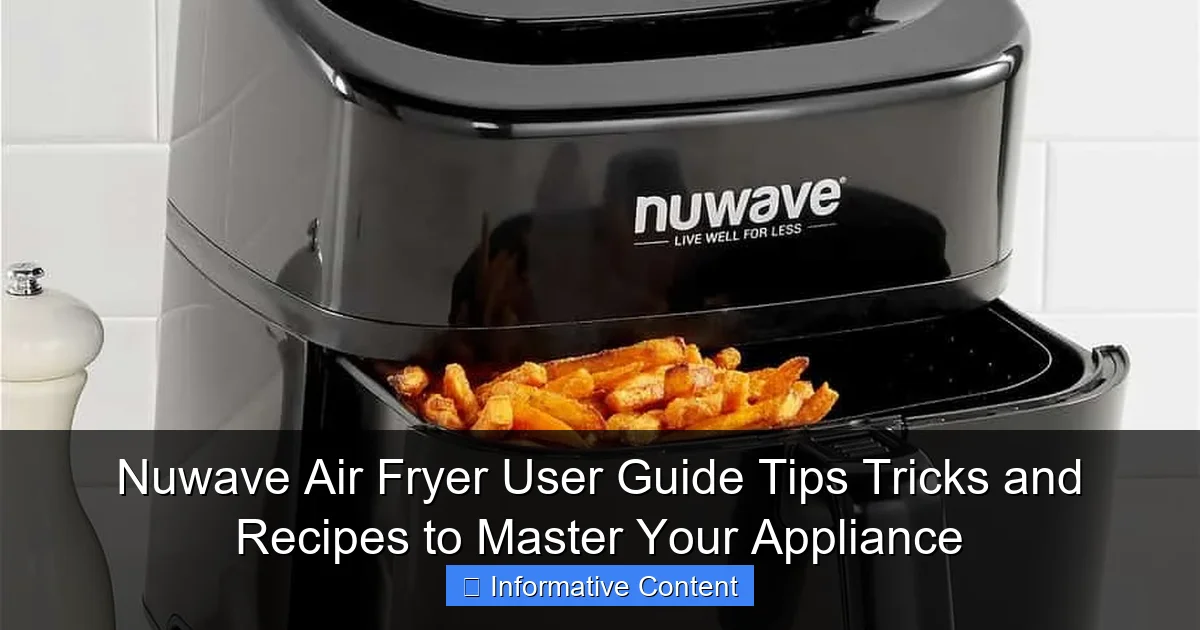
Featured image for nuwave air fryer user guide
Image source: instapot.life
Unlock the full potential of your Nuwave Air Fryer with this essential user guide packed with expert tips, time-saving tricks, and delicious recipes tailored to every skill level. From crispy fries to juicy roasts, master precise temperature control, basket maintenance, and one-touch presets to cook faster, healthier, and with zero guesswork.
Key Takeaways
- Preheat for crispiness: Always preheat your Nuwave air fryer for evenly cooked, crispy results.
- Use minimal oil: A light spray of oil ensures golden, healthy dishes without excess fat.
- Shake or flip food: Midway through cooking, shake the basket for even browning.
- Clean after every use: Wipe down the basket and tray immediately to prevent buildup.
- Experiment with presets: Master built-in programs for perfect fries, chicken, or veggies every time.
- Don’t overcrowd: Leave space between foods for optimal airflow and crisp texture.
📑 Table of Contents
- Getting Started with Your Nuwave Air Fryer: What to Expect
- Understanding Your Nuwave Air Fryer: Features and Functions
- Mastering Cooking Techniques: Tips and Tricks for Perfect Results
- Must-Try Recipes: From Weeknight Dinners to Weekend Feasts
- Troubleshooting Common Nuwave Air Fryer Problems
- Maintenance, Cleaning, and Longevity: Keep Your Air Fryer in Top Shape
- Data Table: Recommended Cooking Times and Temperatures
- Final Thoughts: Your Air Fryer Journey Starts Here
Getting Started with Your Nuwave Air Fryer: What to Expect
So, you’ve just unboxed your new Nuwave air fryer—congrats! Whether you’re a kitchen newbie or a seasoned home cook, this little countertop powerhouse has the potential to revolutionize how you prepare meals. I remember the first time I used mine. I was skeptical—how could something that looks like a futuristic coffee maker actually make crispy fries without drowning them in oil? But after a few trial runs (and a couple of slightly overcooked chicken tenders), I was hooked. The Nuwave air fryer isn’t just a gadget; it’s a game-changer for anyone who wants healthier, faster, and tastier meals with minimal cleanup.
But here’s the thing: like any new appliance, it takes a little time to learn its quirks and unlock its full potential. That’s where this Nuwave air fryer user guide comes in. Think of it as your friendly kitchen companion, full of practical tips, clever tricks, and even some go-to recipes to get you cooking with confidence. Whether you’re reheating leftovers, whipping up a weeknight dinner, or trying to impress your in-laws with a perfectly golden roast chicken, this guide will help you master your appliance—no culinary degree required.
Understanding Your Nuwave Air Fryer: Features and Functions
What Makes Nuwave Different?
Not all air fryers are created equal, and the Nuwave line stands out for a few key reasons. First, it uses triple cooking power: convection, conduction, and infrared heat. That means food cooks evenly from the outside in, creating that crispy, golden texture we all crave—without the oil. Unlike some models that rely solely on convection (which can leave food dry or unevenly cooked), Nuwave’s hybrid system delivers restaurant-quality results at home.
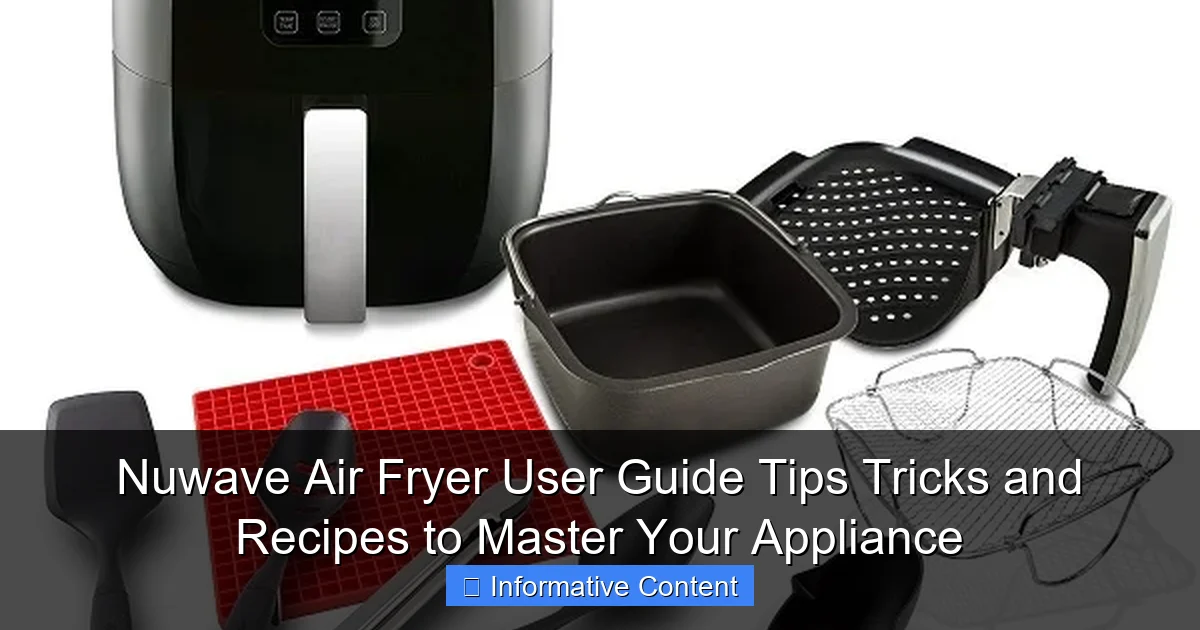
Visual guide about nuwave air fryer user guide
Image source: airfryers.net
Another standout feature? The digital control panel. It’s intuitive and user-friendly, with pre-programmed settings for common foods like fries, chicken, and even fish. But don’t let the presets fool you—this fryer is highly customizable. You can adjust time, temperature, and even set up multi-stage cooking (more on that later). Plus, many models come with a removable crisper tray and a non-stick cooking basket, making cleanup a breeze.
Key Components and Their Roles
- Control Panel: Your command center. Use it to set time (1–99 minutes), temperature (100°F–400°F), and choose from presets like “Fries,” “Steak,” or “Reheat.”
- Cooking Basket: The heart of the fryer. Always ensure it’s seated properly to avoid overheating or uneven cooking.
- Crisper Tray: Elevates food, allowing hot air to circulate underneath. Never skip this—it’s what gives you that crispy bottom layer!
- Lid and Handle: Designed for safety. The lid locks securely, and the handle stays cool to the touch during cooking.
- Air Intake/Exhaust Vents: Keep these clear! Blocking them can cause overheating and reduce efficiency.
Pro tip: Before your first use, run the fryer empty for 10 minutes at 350°F to burn off any factory residue. It might smell a bit—this is normal!
Model Variations: Which One Do You Have?
Nuwave offers several models, including the Brio 6-Quart, Brio 10-Quart, and Brio Pro. The main differences are size, wattage, and added features like a rotisserie kit or dehydrator function. For most households, the 6-quart is ideal—it fits 4–6 servings without hogging counter space. But if you’re cooking for a crowd, the 10-quart is worth the extra investment.
One thing to note: higher-wattage models (like the 1500W Brio Pro) heat up faster and maintain temperature better, which is great for large cuts of meat. But if you’re on a budget, the 1200W 6-quart still performs admirably—just add 1–2 minutes to cooking times for dense foods.
Mastering Cooking Techniques: Tips and Tricks for Perfect Results
Temperature and Time: The Dynamic Duo
Here’s a common mistake: using the same settings as your oven. Air fryers work faster because they’re smaller and more efficient. As a rule of thumb, reduce oven temps by 25°F and cut cooking time by 20%. For example, if a recipe calls for 400°F for 20 minutes in the oven, try 375°F for 16 minutes in your Nuwave.
But don’t rely on formulas alone—always check for doneness. A meat thermometer is your best friend. Chicken breasts should hit 165°F, burgers 160°F, and pork chops 145°F. And remember: air fryers continue cooking food after you remove it (carryover cooking), so pull items a few degrees early if you’re aiming for medium-rare or juicy poultry.
Shake, Flip, or Rotate: The Key to Even Cooking
Air fryers rely on circulating hot air, so overcrowding the basket is a recipe for soggy, uneven results. Here’s how to fix it:
- Small items (fries, nuggets, veggies): Shake the basket every 5–7 minutes. I use a silicone spatula to gently toss everything—no oil needed!
- Large items (chicken, roasts, fish fillets): Flip halfway through. For extra crispiness, brush with a thin layer of oil (just 1 tsp per pound).
- Whole foods (like a whole chicken or spatchcocked turkey): Use the rotisserie kit (if your model has one) or rotate the basket manually every 10–15 minutes.
Real talk: I once tried to air-fry a whole 5-pound chicken without flipping. The top was perfect, but the bottom was rubbery. Lesson learned—flipping is non-negotiable for thick cuts!
Oil, Sprays, and Breading: How to Get That Crispy Crust
You don’t need much oil to achieve crunch, but a little goes a long way. Here are my go-to tricks:
- Light spritz: Use an oil sprayer (not aerosol cans—they can damage non-stick coatings) to lightly coat foods. Avocado or olive oil works best.
- Egg wash + breadcrumbs: For breaded items (like chicken tenders or fish sticks), dip in egg, then panko or almond flour. The air fryer’s heat turns them golden in minutes.
- Cornstarch hack: Toss veggies like Brussels sprouts or cauliflower in cornstarch before air-frying. It creates a light, crispy coating with zero oil.
One caveat: avoid wet batters (like beer batter for fish). They’ll drip into the heating element and create smoke. Stick to dry coatings or marinades.
Must-Try Recipes: From Weeknight Dinners to Weekend Feasts
Breakfast: Crispy Bacon and Hash Browns
Yes, you can cook breakfast in your air fryer! Here’s how:
- Bacon: Lay strips in a single layer (no overlapping!). Cook at 370°F for 8–10 minutes. No flipping needed—just shake once halfway. Result: perfectly crispy, with less grease.
- Hash Browns: Preheat the basket, then add frozen hash browns. Spray lightly with oil. Cook at 380°F for 12–15 minutes, shaking every 5 minutes. Pro tip: Add a pinch of paprika for extra flavor.
My morning routine: While the bacon cooks, I prep my coffee. By the time it’s ready, the bacon is crispy, and I can toss in the hash browns. Total time: 15 minutes.
Lunch: Air-Fried Buffalo Cauliflower Bites
A vegetarian favorite that even meat-eaters love. Here’s the recipe:
- Cut 1 head of cauliflower into bite-sized florets.
- Toss with 1 tbsp olive oil, ½ tsp garlic powder, and ½ tsp salt.
- Air-fry at 375°F for 10 minutes, shaking halfway.
- Mix ¼ cup buffalo sauce with 1 tbsp melted butter. Toss with hot cauliflower.
- Return to the basket and cook 2–3 minutes more for a sticky, caramelized finish.
Serve with blue cheese dressing or ranch. Total cook time: 15 minutes. Bonus: These reheat beautifully for next-day lunches!
Dinner: Garlic Butter Salmon and Asparagus
Impress your family with this 20-minute gourmet meal:
- Salmon: Season 2 fillets with salt, pepper, and 1 tsp lemon zest. Place skin-side down in the basket. Cook at 380°F for 8–10 minutes (for 1-inch thick fillets).
- Asparagus: Toss 1 bunch with 1 tbsp olive oil, 1 minced garlic clove, and a pinch of red pepper flakes. Add to the basket with the salmon during the last 4 minutes.
- Finish: Melt 2 tbsp butter with 1 tsp lemon juice. Drizzle over salmon and asparagus.
The result? Tender, flaky salmon with a buttery crust and perfectly crisp-tender asparagus. No oven preheating, no messy pans—just one basket to clean.
Dessert: Cinnamon Sugar Donut Holes
Yes, you can make dessert! These are so easy, my kids beg to help:
- Cut canned biscuit dough into 16 pieces (or use store-bought donut holes).
- Spray lightly with oil. Air-fry at 350°F for 6–7 minutes, shaking once.
- Roll in a mix of ¼ cup sugar + 1 tsp cinnamon. Serve warm with chocolate sauce or fruit compote.
Warning: These disappear fast. Make a double batch!
Troubleshooting Common Nuwave Air Fryer Problems
Food Is Too Dry or Overcooked
This happens when:
- You’re cooking too long. Air fryers work fast—especially for thin foods like chicken tenders or fish sticks. Reduce time by 1–2 minutes next time.
- The temperature is too high. Try lowering it by 25°F. For example, cook chicken at 375°F instead of 400°F.
- You’re not using enough moisture. Brush meats with broth, oil, or sauce during cooking. For veggies, toss with a tablespoon of water before frying.
Real-life fix: I once overcooked pork chops by setting the timer for 12 minutes instead of 10. The fix? I now use a meat thermometer and pull them at 140°F (they finish cooking while resting).
Food Is Soggy or Undercooked
Common causes:
- Overcrowding the basket. Only fill it halfway for small items, or ⅔ full for larger foods.
- Not shaking/rotating. Set a timer to remind yourself to toss or flip every 5–7 minutes.
- Using frozen foods straight from the freezer. For best results, thaw frozen items (like chicken nuggets) for 10–15 minutes first. Or add 2–3 minutes to cooking time.
Smoke or Burning Smells
This is scary but usually fixable:
- Cause 1: Oil dripping onto the heating element. Wipe the basket and tray after each use. Avoid wet batters or heavily marinated meats.
- Cause 2: Food scraps stuck in the bottom. Clean the heating element (when cool!) with a damp cloth.
- Cause 3: Cooking high-fat foods (like sausages) at high temps. Reduce temperature to 350°F and cook longer.
Pro tip: Keep a box of baking soda near your air fryer. If smoke appears, turn it off, unplug, and sprinkle baking soda on the heating element (after cooling). It neutralizes odors.
Maintenance, Cleaning, and Longevity: Keep Your Air Fryer in Top Shape
Daily Cleaning: Quick and Easy
After each use:
- Let the basket and tray cool for 10 minutes.
- Wash with warm, soapy water. A soft sponge or non-abrasive brush works best.
- Rinse and dry thoroughly before storing.
No dishwasher? No problem. While some models are dishwasher-safe, hand-washing prolongs the non-stick coating’s life.
Deep Cleaning: Every 2–4 Weeks
For built-up grease or stubborn residue:
- Soak: Fill the basket with hot water + 1 tbsp baking soda. Let sit 30 minutes.
- Scrub: Use a paste of baking soda + water on tough spots.
- Wipe the heating element: Use a damp microfiber cloth (never submerge the base!).
- Deodorize: Run the fryer empty at 350°F for 5 minutes with a slice of lemon inside.
Storage and Care Tips
- Don’t stack baskets: It can warp the non-stick coating.
- Keep it covered: Dust can clog the air vents. Store in a cabinet or use the included cover (if your model has one).
- Check the cord: Coil it loosely—never wrap it tightly around the base.
Long-term care: With proper maintenance, your Nuwave air fryer can last 5+ years. I’ve had mine for 3 years, and it still looks and performs like new.
Data Table: Recommended Cooking Times and Temperatures
| Food | Temperature (°F) | Time (Minutes) | Notes |
|---|---|---|---|
| Frozen French Fries | 400 | 12–15 | Shake every 5 minutes |
| Chicken Breasts (6 oz) | 375 | 12–14 | Flip halfway; check internal temp |
| Salmon Fillet (1 inch) | 380 | 8–10 | Skin-side down; brush with oil |
| Brussels Sprouts | 375 | 12–15 | Toss with oil and salt |
| Hard-Boiled Eggs | 270 | 15 | Cool in ice water after |
| Reheat Pizza | 320 | 3–4 | Place on crisper tray |
Remember: these are starting points. Adjust based on your model and preferences. And always, always check for doneness!
Final Thoughts: Your Air Fryer Journey Starts Here
Look, no appliance is perfect. Your Nuwave air fryer might take a little getting used to—maybe your first batch of fries is a bit too dark, or you accidentally set off the smoke alarm (been there). But here’s what I’ve learned: every “oops” is a lesson, and every success builds confidence. The more you use it, the more you’ll discover its quirks, its strengths, and the magic it can bring to your kitchen.
This Nuwave air fryer user guide isn’t about perfection. It’s about empowerment. It’s about knowing that with a few simple techniques—shaking the basket, adjusting the temperature, cleaning after use—you can make everything from crispy bacon to restaurant-quality salmon with minimal effort. And honestly? That’s worth the learning curve.
So go ahead. Try a recipe. Experiment. Mess up. Laugh about it. Then try again. Because at the end of the day, the best Nuwave air fryer isn’t the one with the fanciest features—it’s the one you reach for every day, the one that makes cooking fun, fast, and delicious. Now get in that kitchen and start frying! (Air-frying, that is.)
Frequently Asked Questions
How do I use my Nuwave air fryer for the first time?
Before using your Nuwave air fryer, wash the basket and tray with warm soapy water and dry thoroughly. Plug in the unit, preheat it for 5 minutes at 350°F, and then add your food—no oil is needed for most recipes.
What are the best Nuwave air fryer user guide tips for crispy food?
For crispy results, avoid overcrowding the basket and flip or shake food halfway through cooking. Lightly spritz food with oil before cooking to enhance browning and texture.
Can I cook frozen foods in my Nuwave air fryer?
Yes! The Nuwave air fryer excels at cooking frozen foods like fries, nuggets, or veggies. Add 1–2 minutes to the recommended cooking time and check for doneness early.
Where can I find easy Nuwave air fryer user guide recipes?
The official Nuwave website offers a free recipe eBook, or check the included manual for beginner-friendly options. Try classics like air-fried chicken wings, roasted veggies, or even desserts like churros.
How do I clean my Nuwave air fryer properly?
Let the unit cool, then wash the basket and tray with warm, soapy water or place them in the dishwasher. Wipe the interior and exterior with a damp cloth—never immerse the main unit in water.
Why is my Nuwave air fryer smoking during use?
Smoke usually occurs when food drippings or oil collect in the basket. Clean the basket after each use, and avoid cooking high-fat foods without placing a liner or parchment paper to catch excess grease.